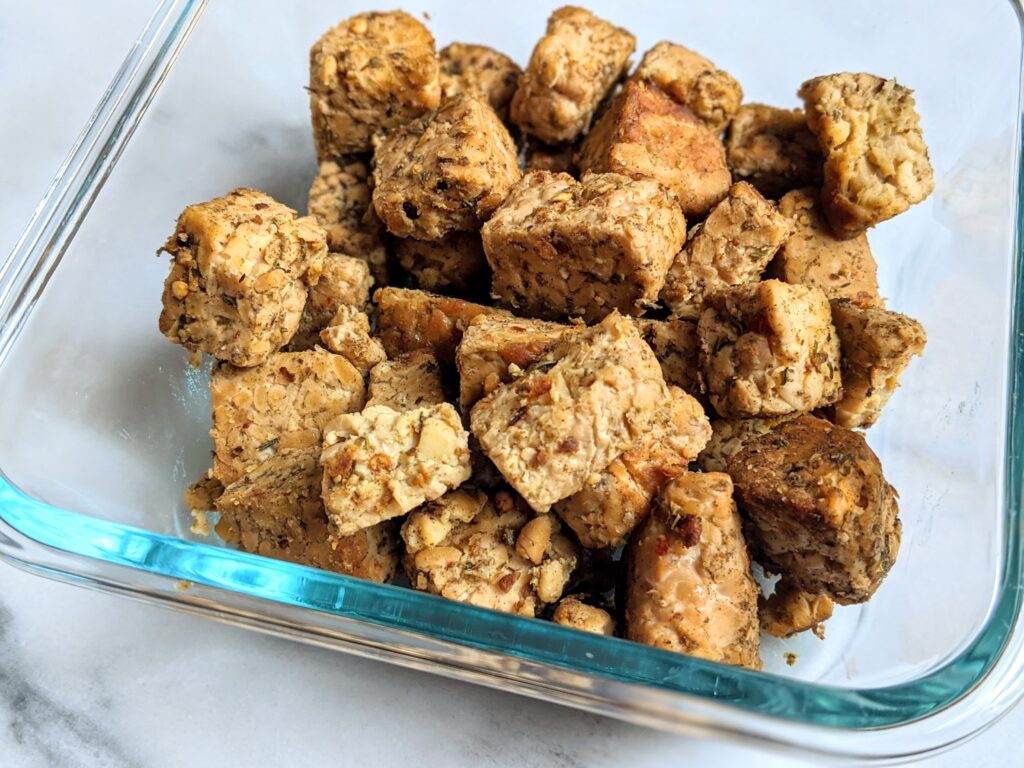
Tempeh is a super versatile, plant-based protein, with a firm texture that provides a satisfying “chew” to your meal. It has a mild, slightly earthy, nutty flavor, but takes on the flavor of whatever spices, sauces, and condiments you add to it.
What is tempeh, anyway?
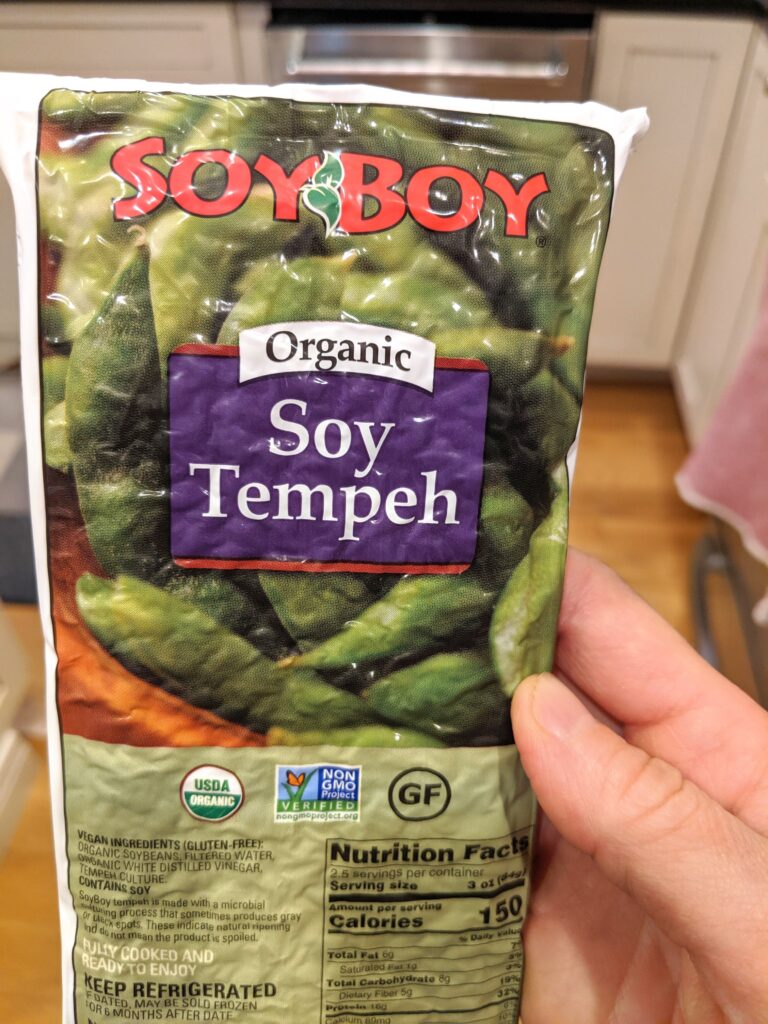
Tempeh is essetially cooked and slighlty fermented soybeans which have been pressed into a cake-like block form. You can often find this high-protein plant food in many supermarkets, typically stocked near the produce, alongside tofu.
If you are new to adding plant-proteins to your weekly menu, tempeh is a great place to start. It’s easy to prepare, and its almost firm, meat-like chew will satisfy even the most hesitant of meat eaters.
Got chronic inflammation? Tempeh can help!
A 2021 clinical study has demonstrated that diets rich in fermented foods like tempeh increase the diversity of your gut microbes (yay for gut health!) and also decrease signs of molecular inflammation. In this “stunning finding”:
. . . four types of immune cells showed less activation in the fermented-food group. The levels of 19 inflammatory proteins measured in blood samples also decreased. One of these proteins, interleukin 6, has been linked to conditions such as rheumatoid arthritis, Type 2 diabetes and chronic stress.
STUDY SUMMARY: Stanford researchers discover that a 10-week diet high in fermented foods boosts microbiome diversity and improves immune responses.
prep tip
The first step in preparing the tempeh is a brief simmer (as described in recipe instructions below). Do not skip this step, as it helps remove any potential bitter taste, and it also helps the tempeh take on the flavors of your addtional ingredients more easily.
Here are just a few ideas for adding tempeh to your meals:
- Tucked into a burrito or breakfast burrito
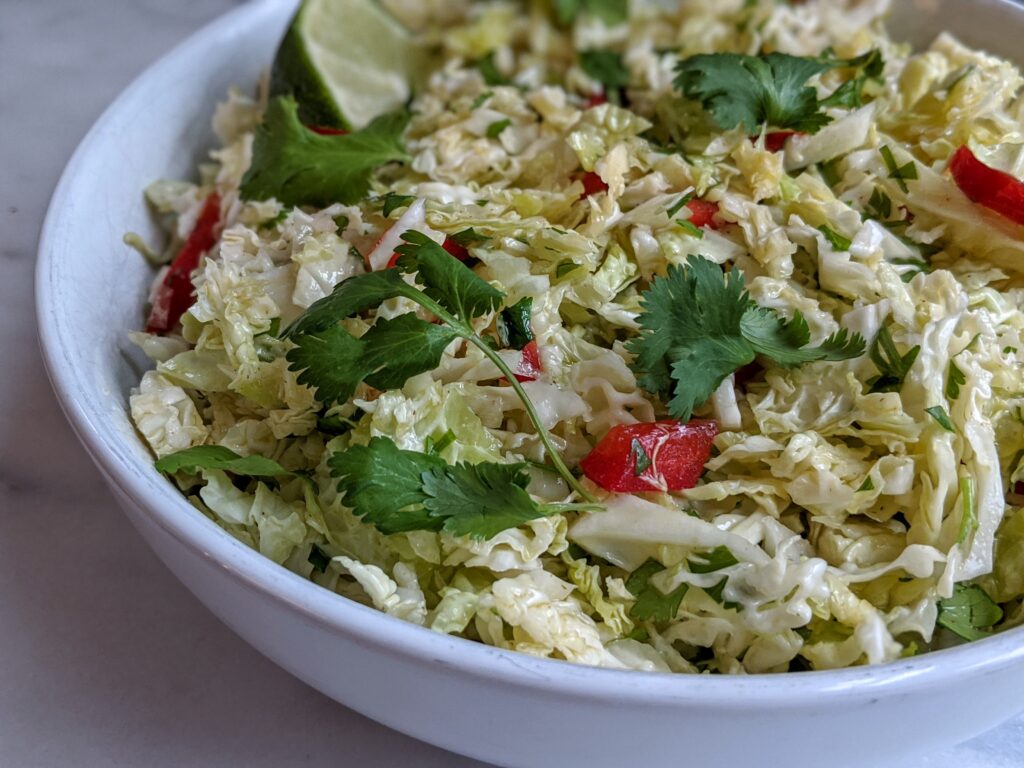
- Added to a salad (for a heartier, more filling and protein-rich salad)
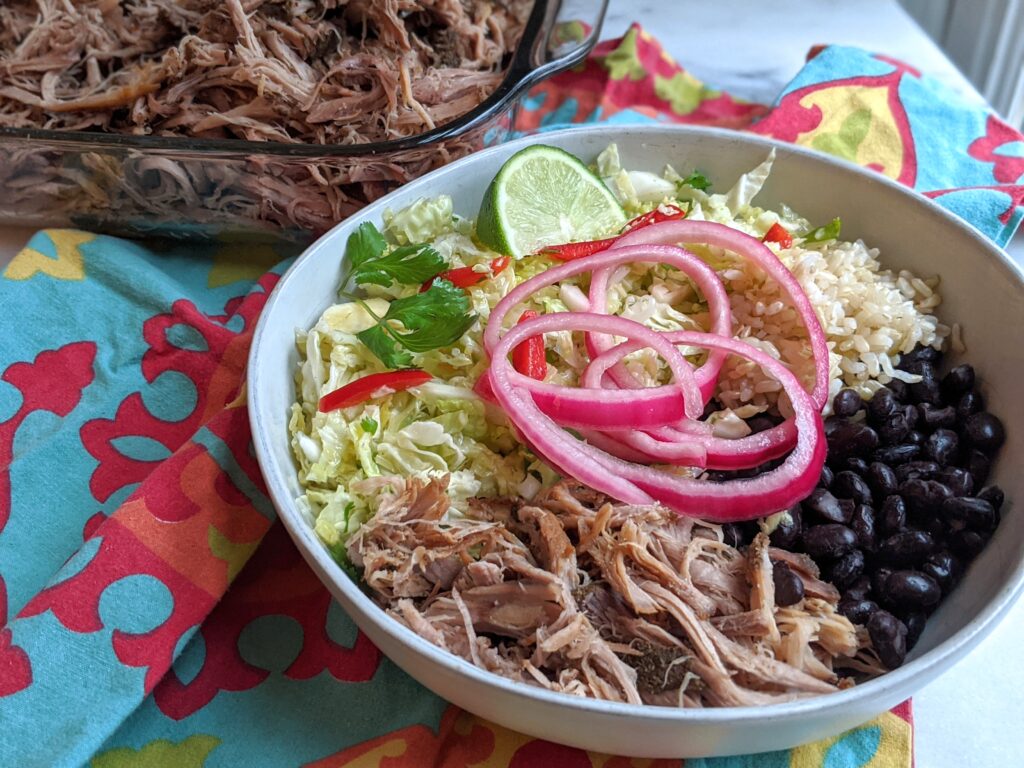
- In a bowl meal with roasted veggies and a starch (like potato, sweet potato, quinoa, rice, etc.)
- in a skillet breakfast-hash-inspired meal (with sauteed diced sweet potato, greens, red onion, and top with with a fried egg)
- Over shredded veggies and noodles, drizzled with peanut sauce
- In a stir fry
- In chili


| Servings |
servings
|
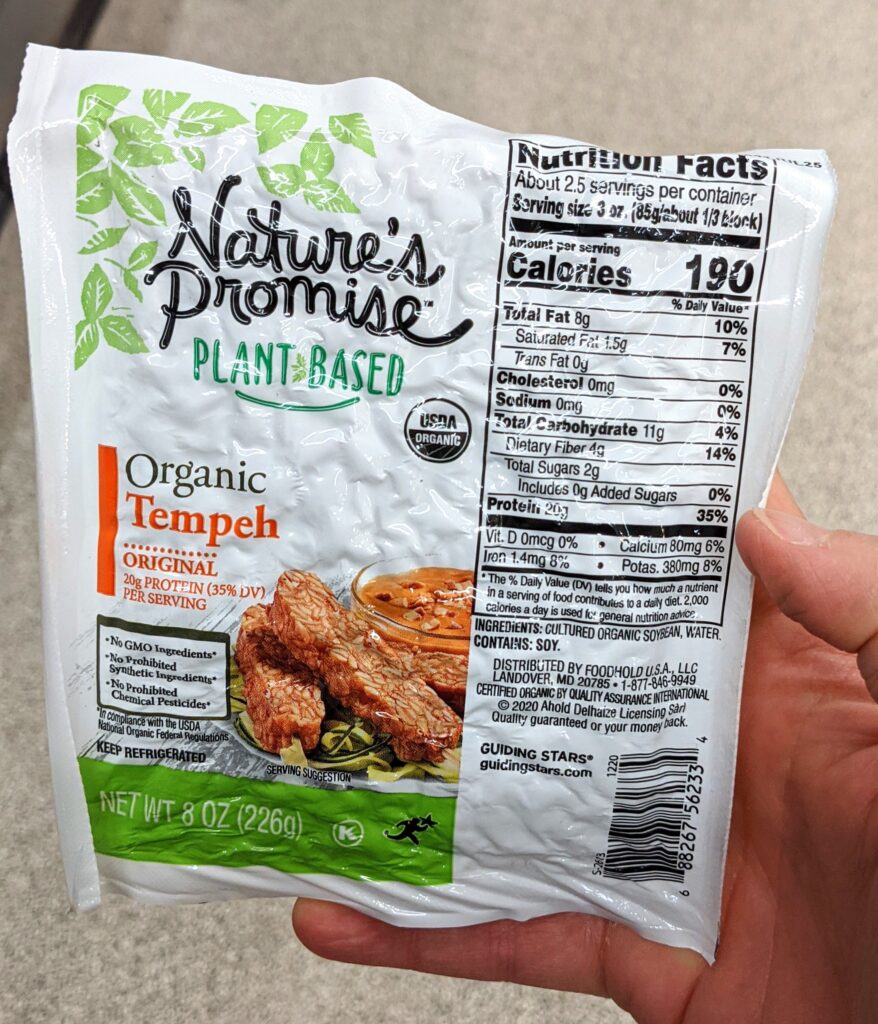
- 1 8-ounce block of tempeh, cut into 4 large, equal pieces (FYI, soybean-based tempeh is typically higher in protein than purely grain-based ones)
- 2 teaspoons avocado oil or extra virgin olive oil
- 1 teaspoon dried thyme
- 1/2 teaspoon dried sage
- 1/2 teaspoon dried oregano
- 1/4 teaspoon smoked paprika
- 1/4 teaspoon paprika
- 1/4 teaspoon freshly ground black pepper
- 1/4 cup plus 1 teaspoon soy sauce or tamari
- 2 cloves garlic gently pressed
Ingredients
|
|
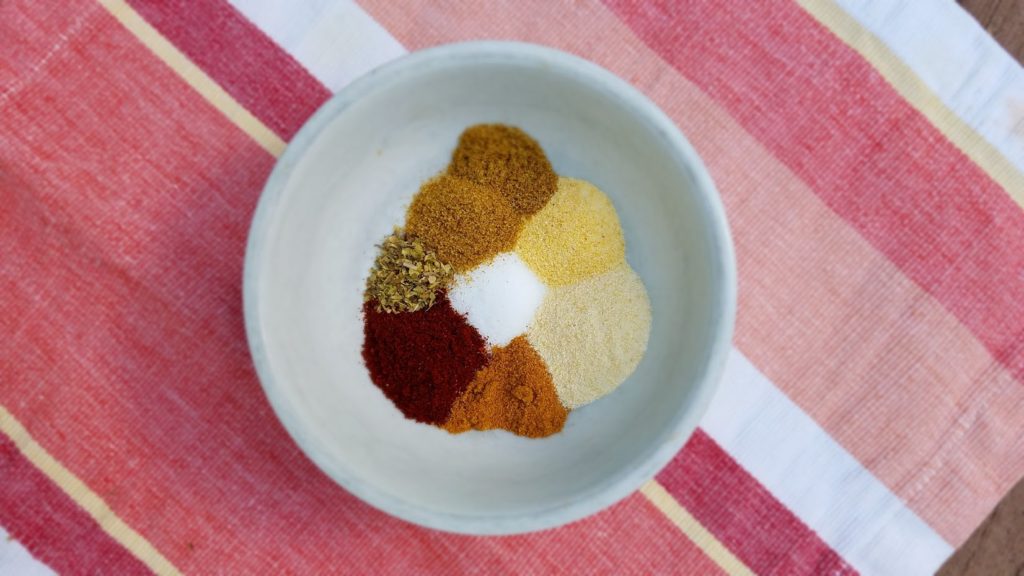
- Combine the spice ingredients (thyme, sage, oregano, smoked paprika, paprika, freshly ground black pepper) and set aside.
- Add water to a medium pot to about ⅓ full, and add ¼ cup of soy sauce and the pressed garlic. Bring to a simmer.
- Add the tempeh chunks. Simmer for 20 minutes.
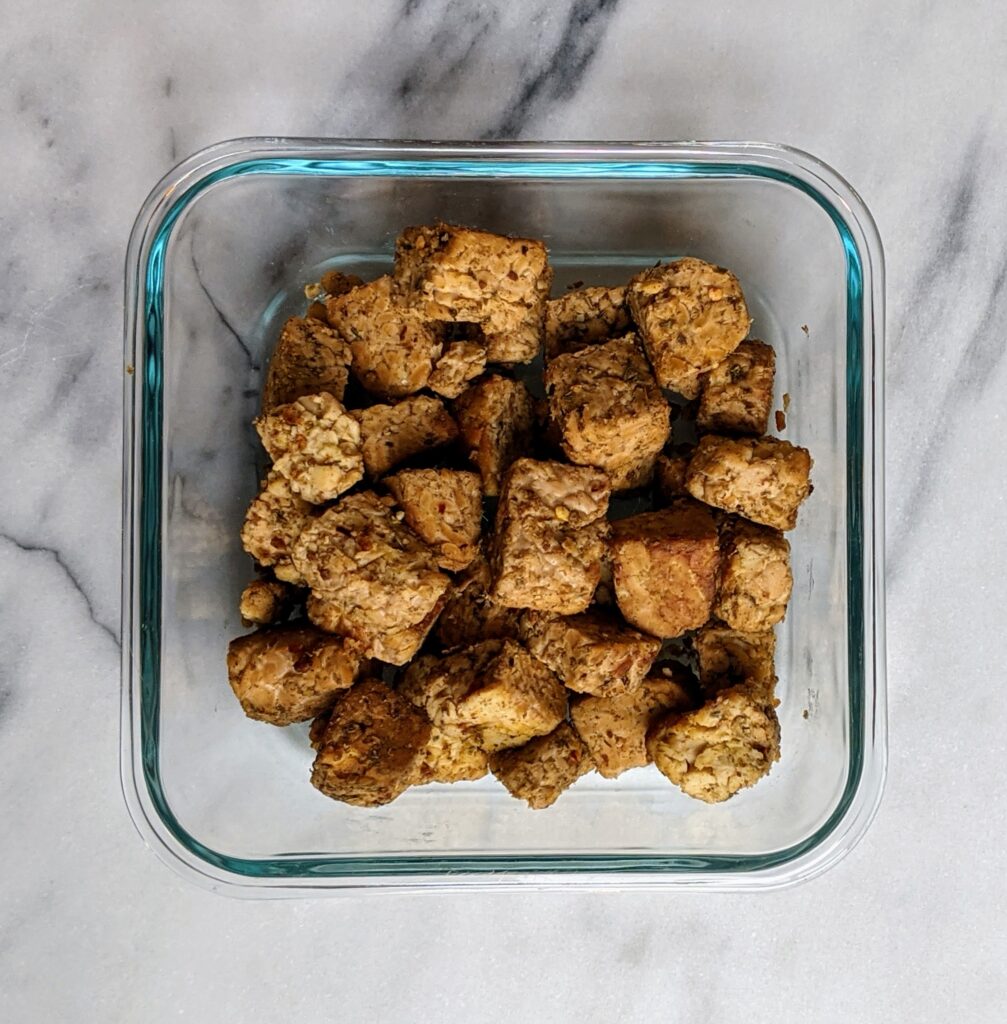
- Drain the tempeh, and discard the garlic cloves (or save to use in something else if you’d like!). Gently pat tempeh dry.
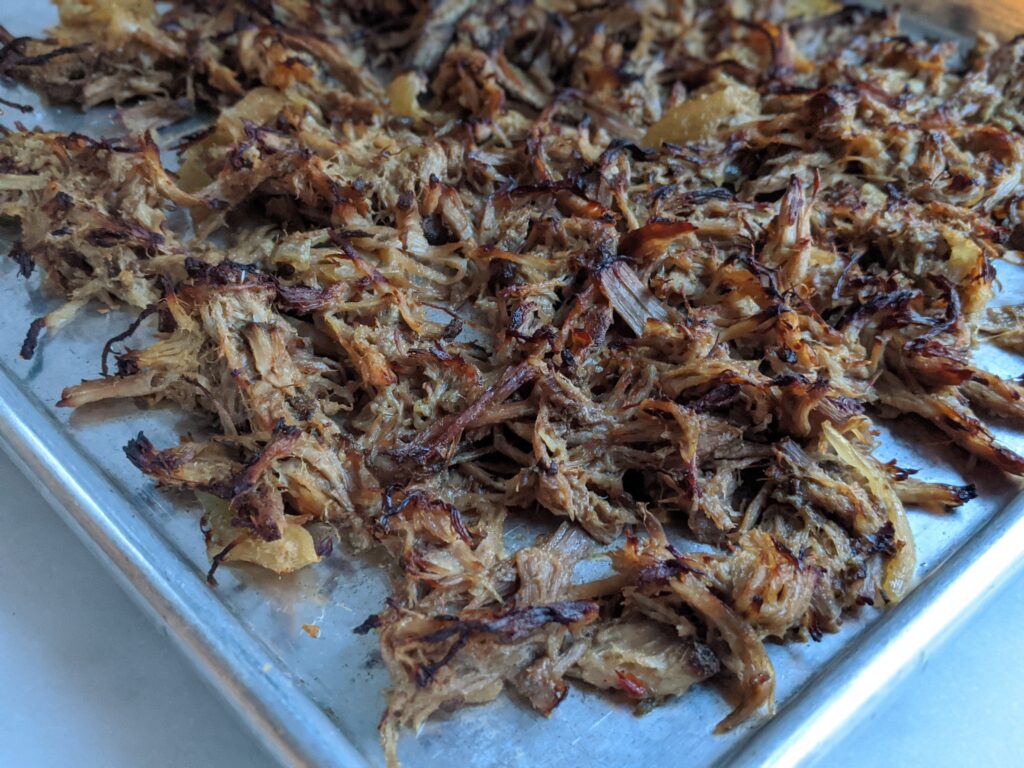
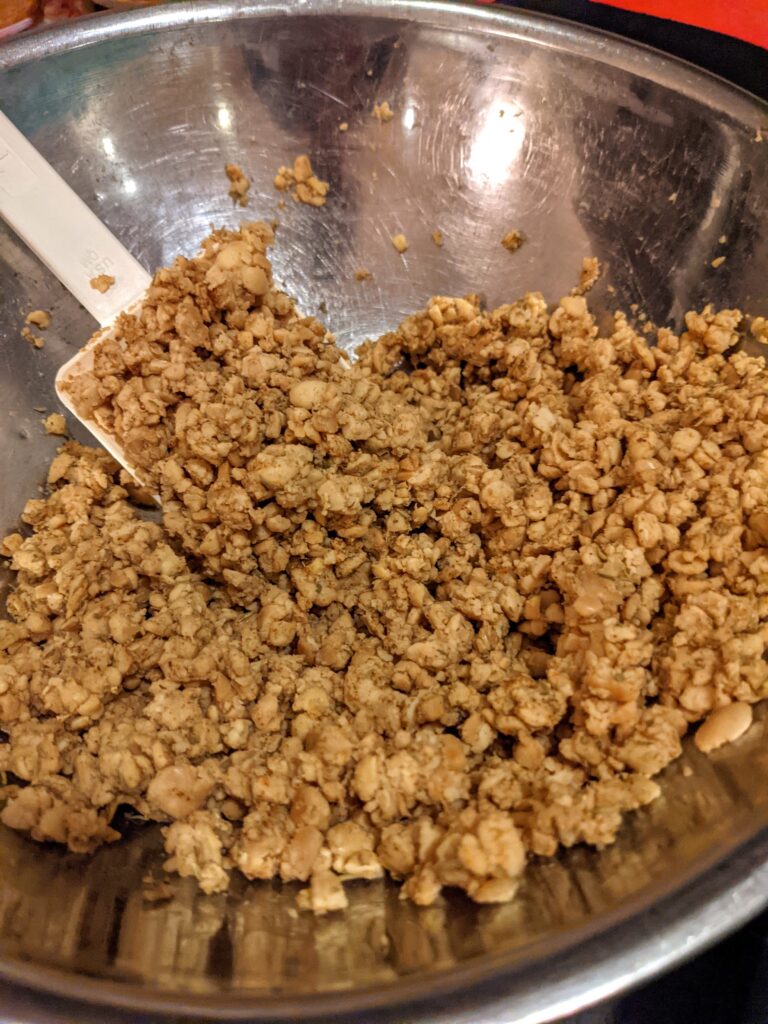
- After tempeh has cooled, cut into smaller, bite-sized chunks OR crumble into smaller pieces. Toss with spice mixture.
- In a large skillet (I like to use nonstick for this recipe), heat the oil over medium heat. Add the seasoned tempeh, and cook for about 7-8 minutes, stirring often until it’s lightly browned. Add extra oil as needed.
- Add the teaspoon of soy sauce, stir gently, and remove skillet from heat.