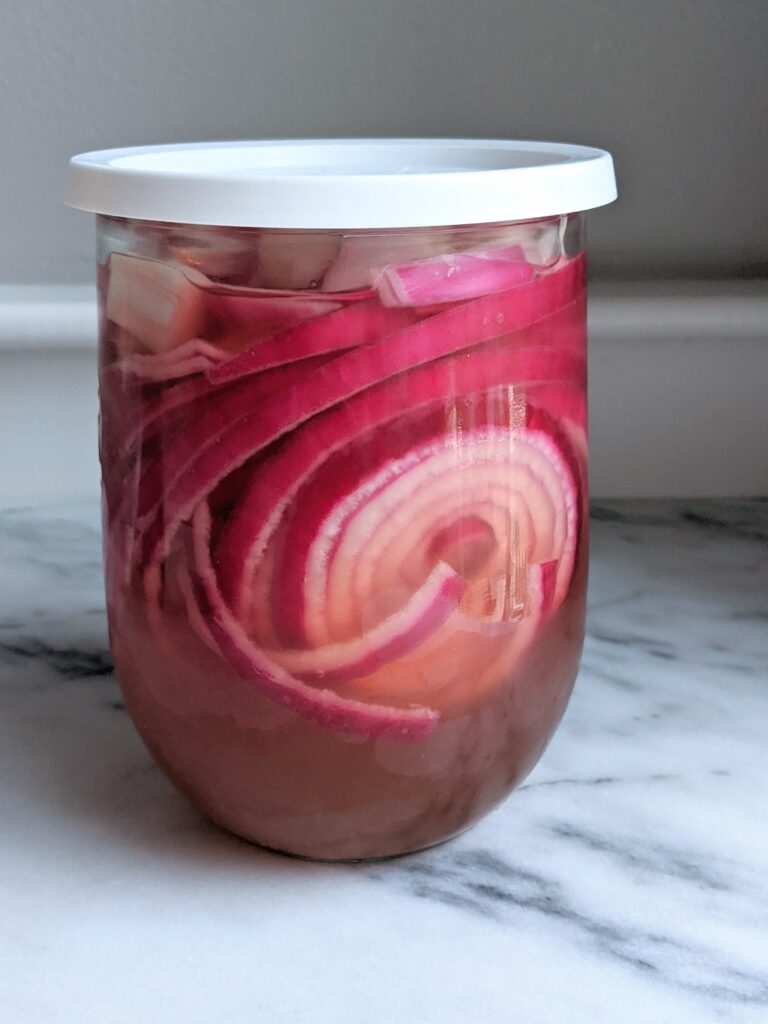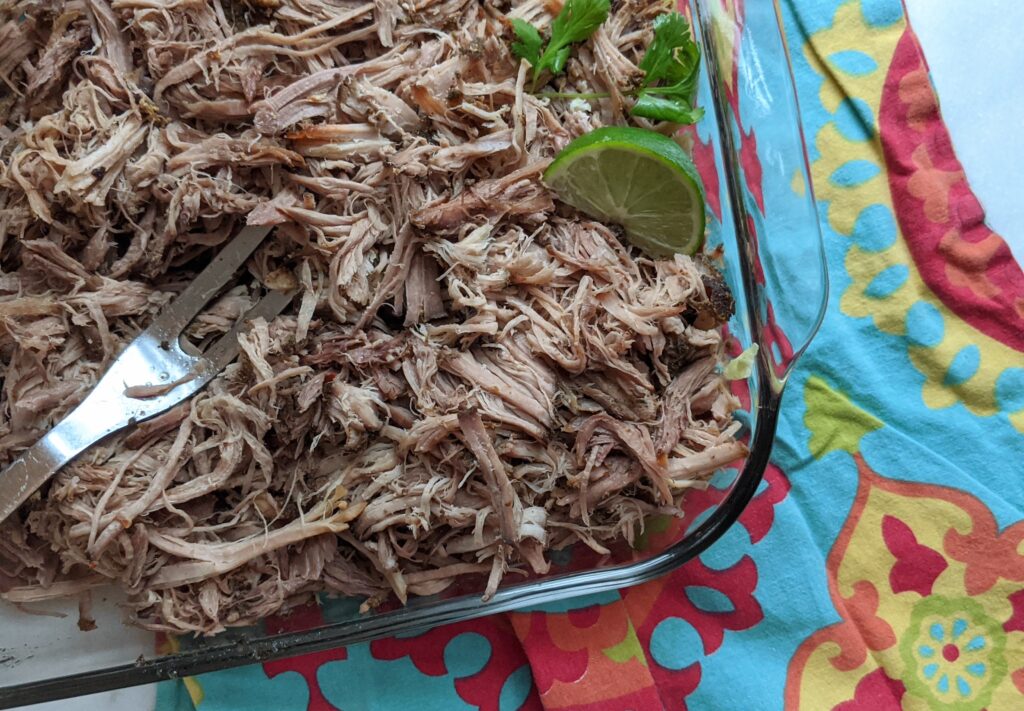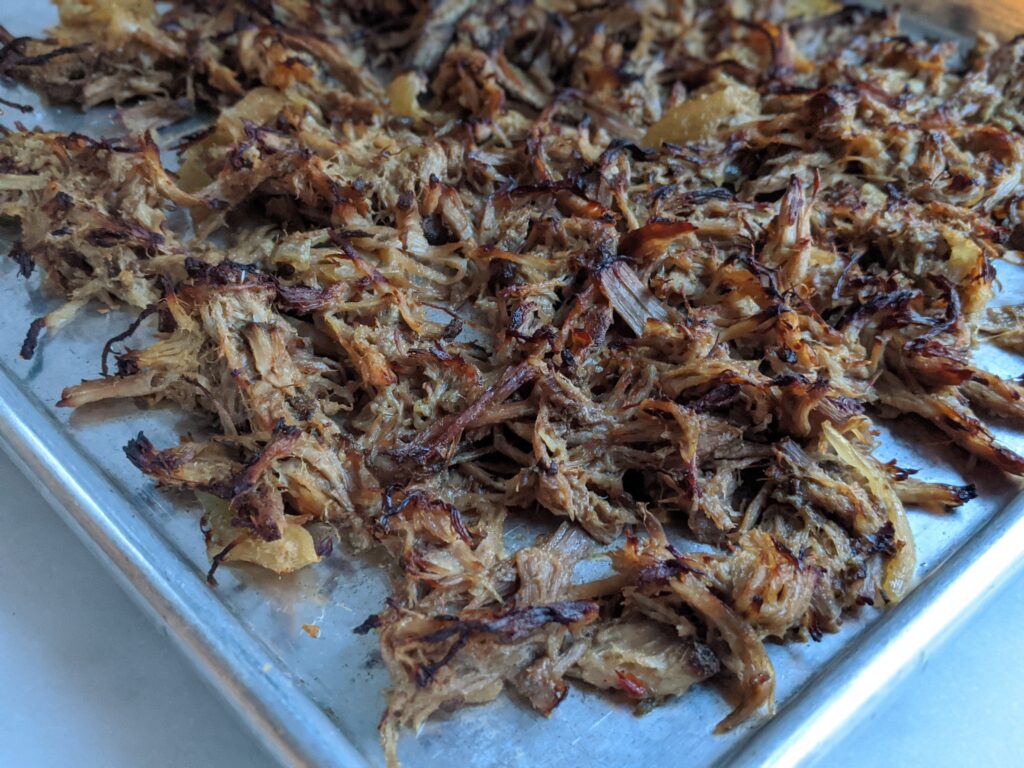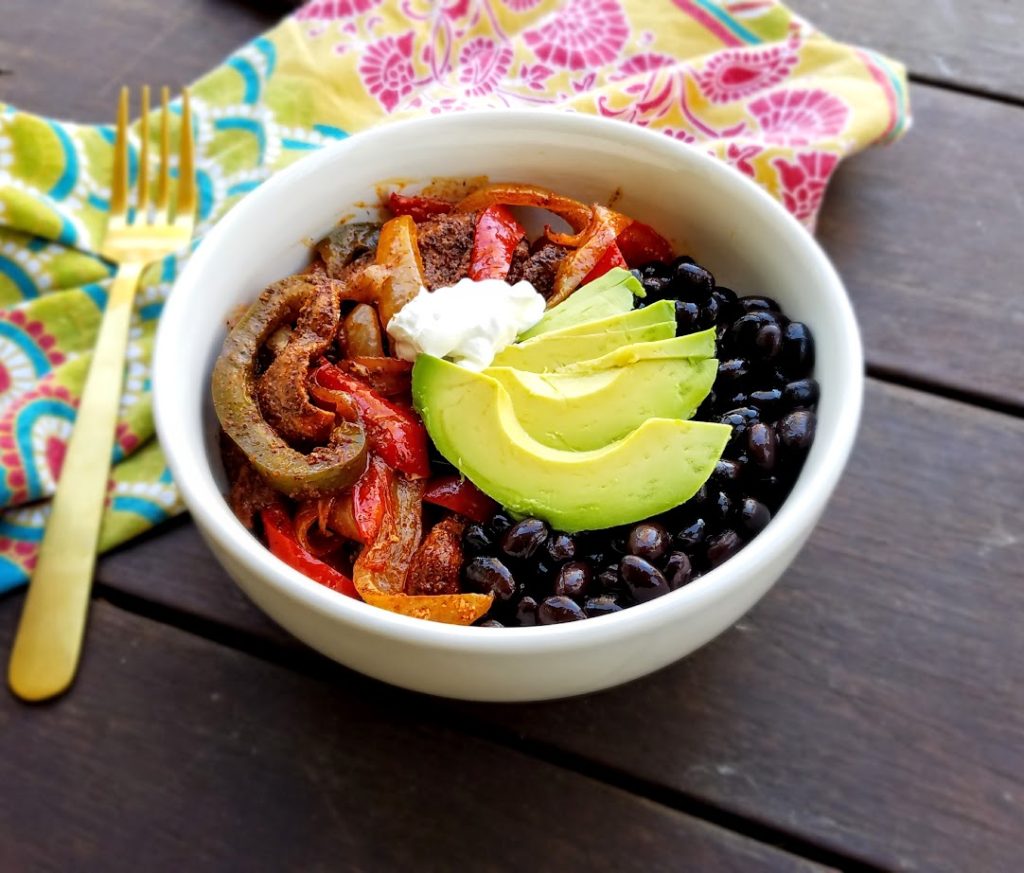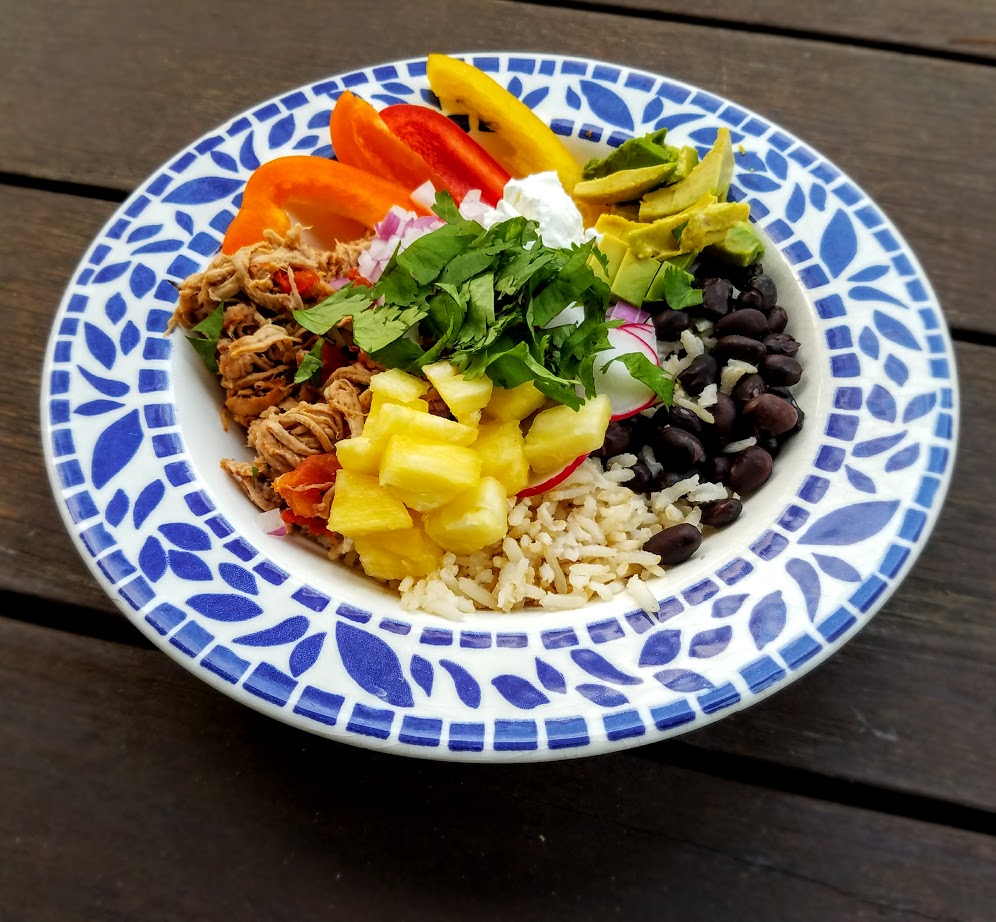
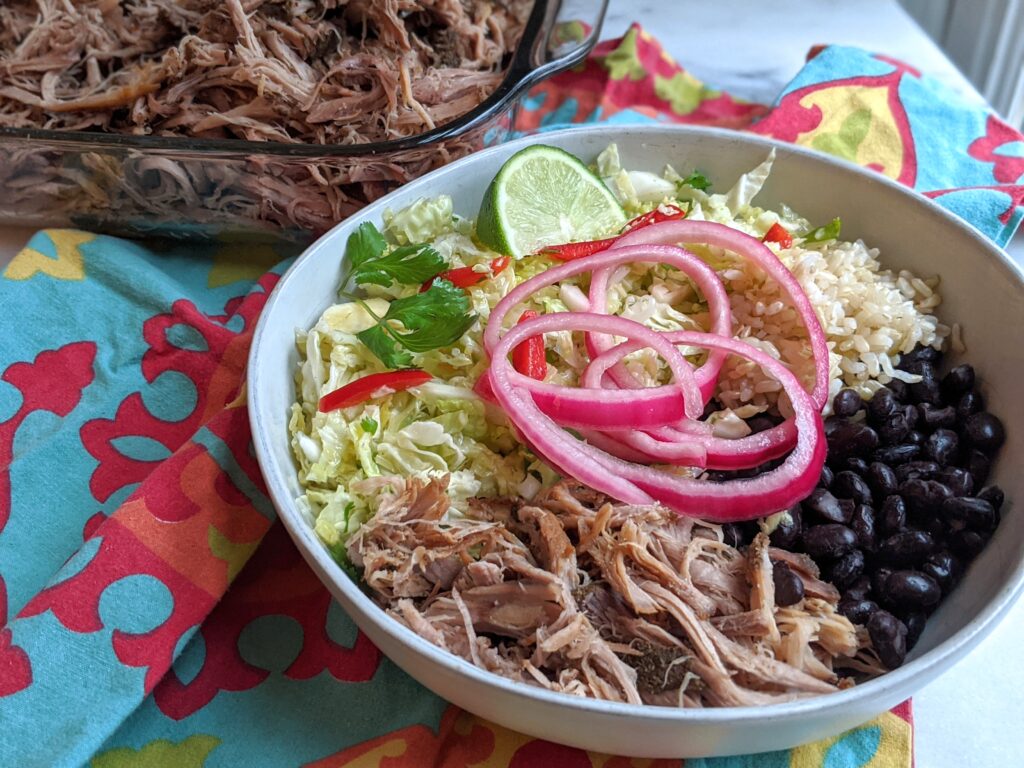
Need to add more delicious veggies to your life, but you’re short on time? This recipe is for you! Also, it’s the perfect side to just about any taco, burrito, or carnitas meal (grab my pork carnitas recipe here).
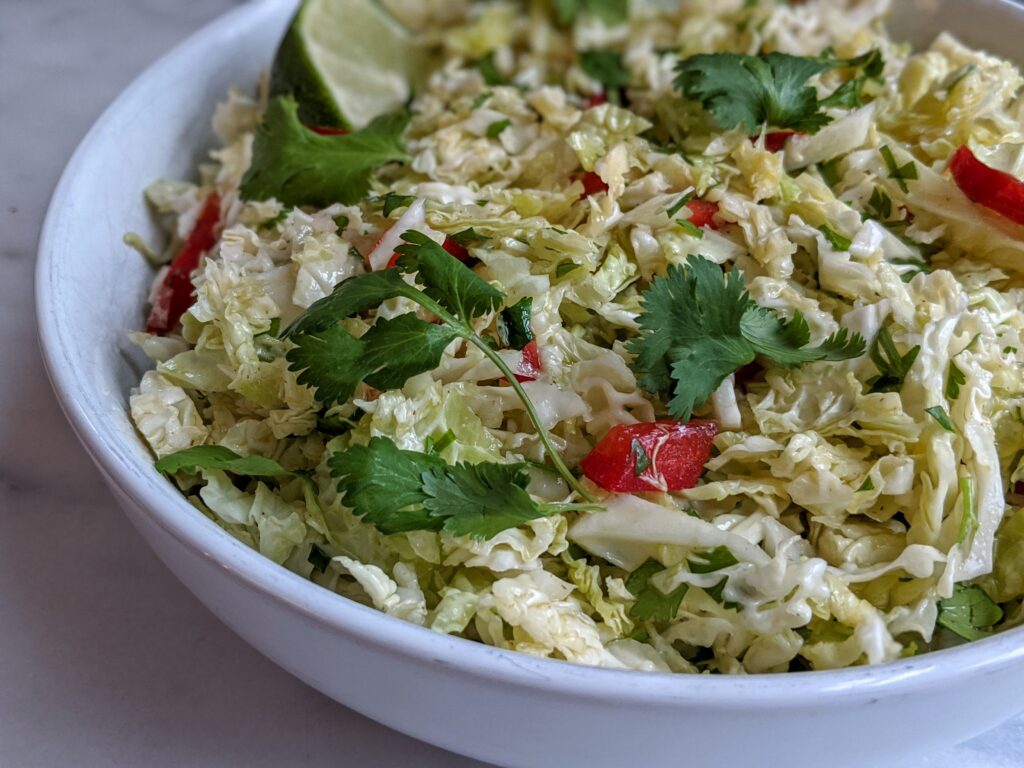
To keep things simple, I’ve started with pre-shredded cabbage/ slaw mix. If you prefer, feel free to shred your own cabbage using a food processor. I’m guessing that a half a head of cabbage would yield a similar amount. Savoy cabbage or regular green cabbage works nicely here. Red/purple cabbage is also another good option.

| Prep Time | 10 minutes |
| Servings |
servings
|
Ingredients
- 14 ounce bag coleslaw mix/ shredded cabbage (do not use sauce that might accompany your slaw mix)
- 1 lime, juiced
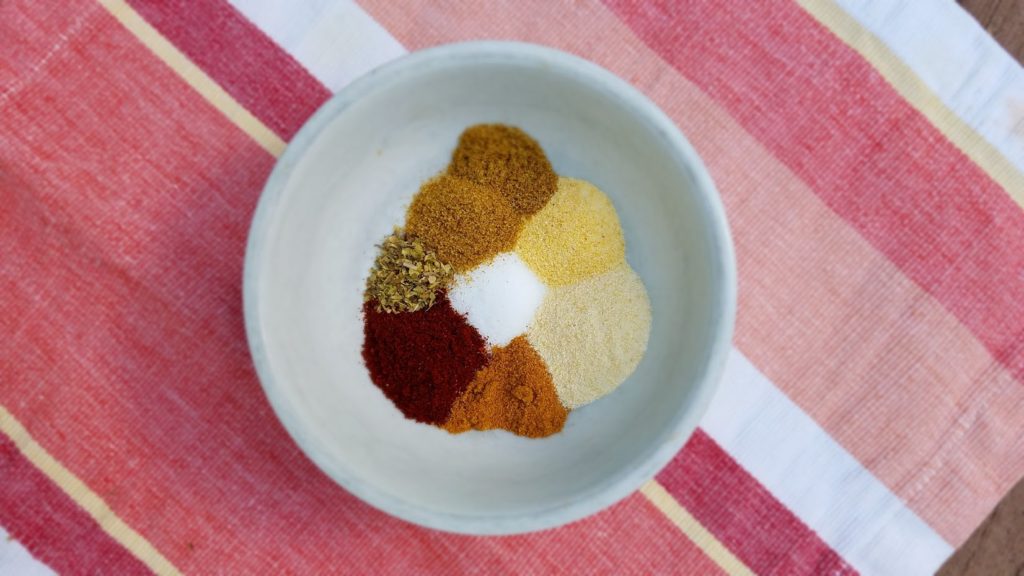
- 1/4 teaspoon ground cumin
- 1/4 cup chopped cilantro
- 1/4 cup extra virgin olive oil
- 2 garlic cloves, pressed or minced
- salt and pepper, to taste
- 1/3 small red bell pepper, finely chopped optional
Ingredients
|
|
Instructions
- Combine lime juice, cumin, cilantro, and garlic. Stir to combine.
- Whisk extra virgin olive oil into lime and spice mixture to make the dressing.
- Combine the cabbage, cilantro, and dressing in a large bowl (include optional red pepper if using). Stir gently to coat. Season to taste with salt and pepper. Serve immediately.