• Skip to primary navigation
  • Skip to main content
  • Skip to primary sidebar

Nourished not Famished

Real-life healthy changes, made simple and delicious.

  • Home
  • Recipes
    • Main Dishes
    • One Pan Dinners
    • Breakfast
    • Salads & Side Dishes
    • Soups & Stews
    • Snacks
    • Sauce/Dressing/Spices
    • Appetizers
    • Desserts
  • Real Food, Real Health
    • Why Real Food works
    • Getting Started
    • Meal Prep/Meal Planning Tips
    • The Other 3: Sleep, Stress Relief, & Movement
  • About
  • Contact
  • My Favorite Things
  • Nav Social Menu

    • Facebook
    • Instagram
    • YouTube

vegan

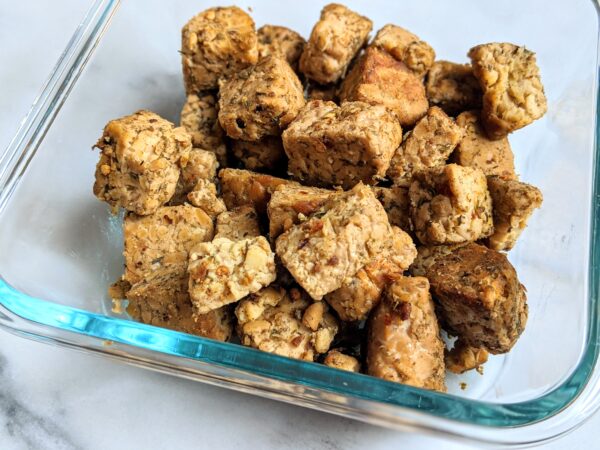
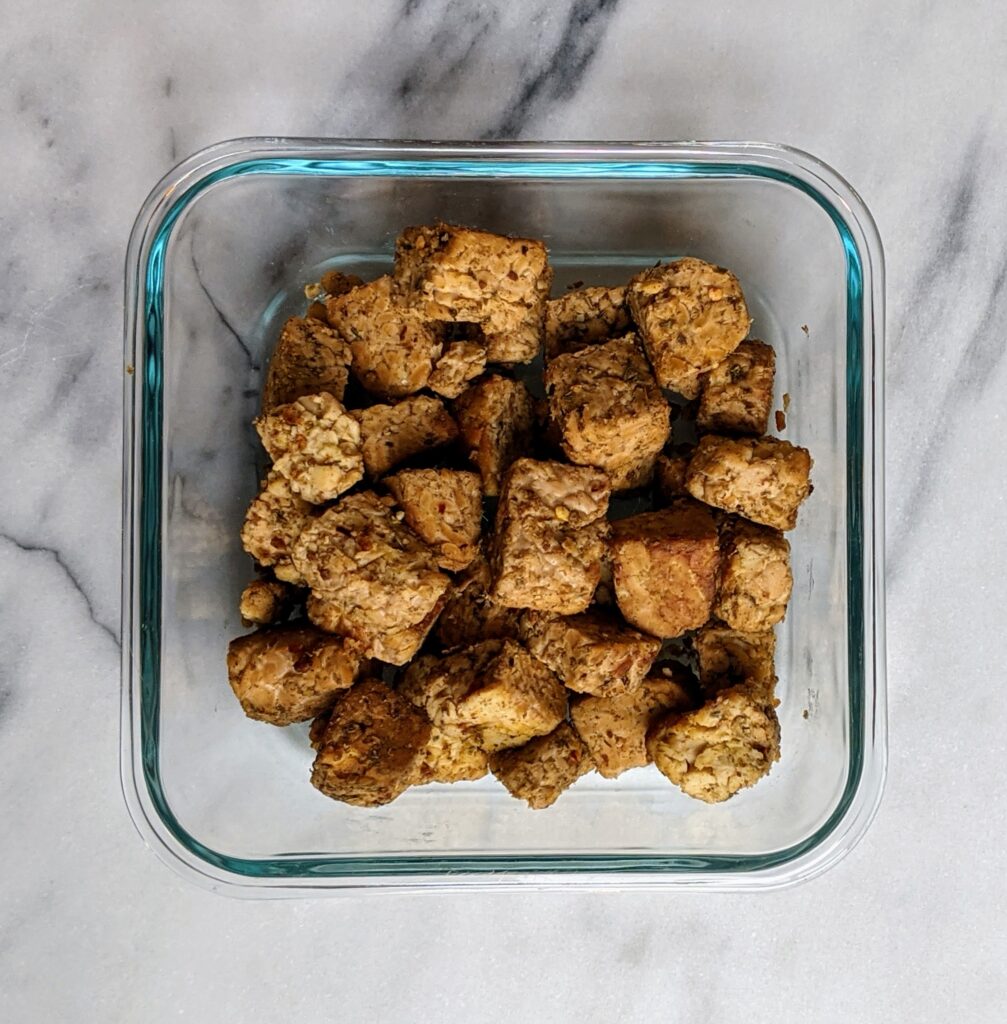
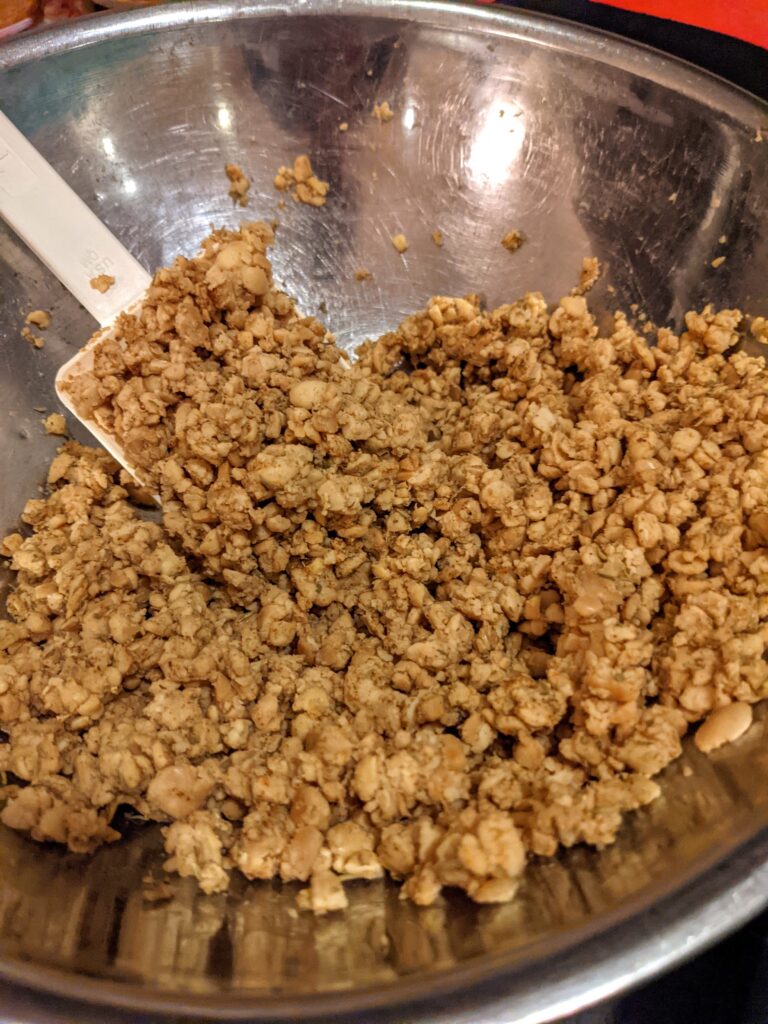
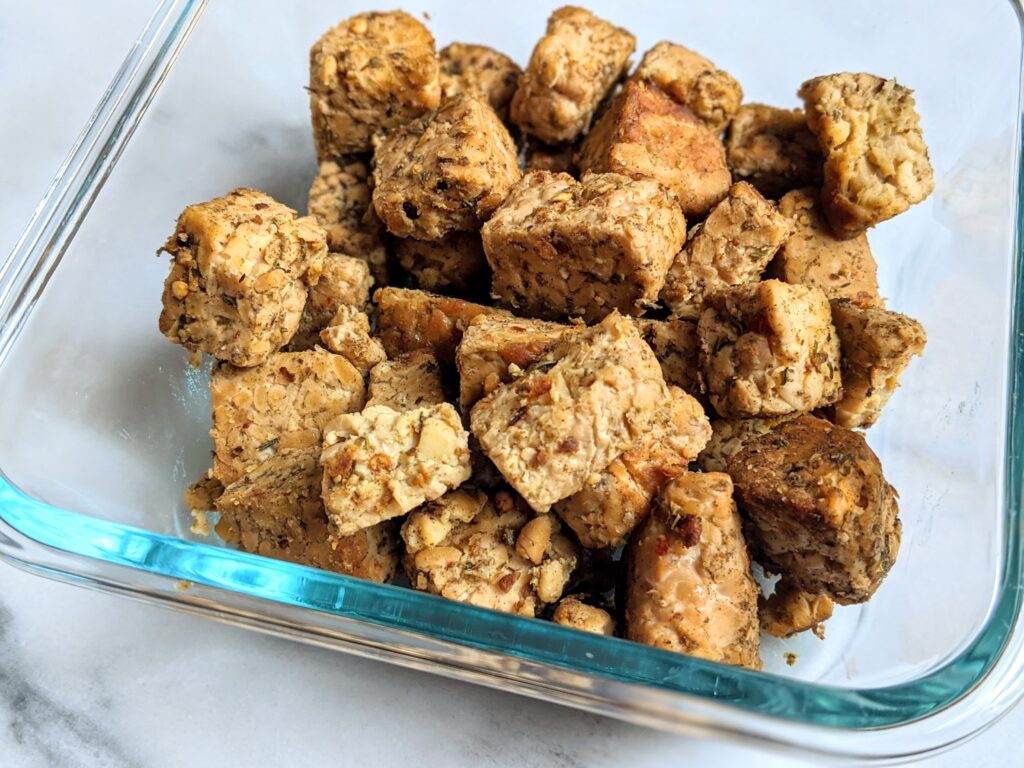
How to Make Vegan Tempeh Crumbles or Cubes

By Jen

Tempeh is a super versatile, plant-based protein, with a firm texture that provides a satisfying “chew” to your meal. It has a mild, slightly earthy, nutty flavor, but takes on the flavor of whatever spices, sauces, and condiments you add to it.

What is tempeh, anyway?

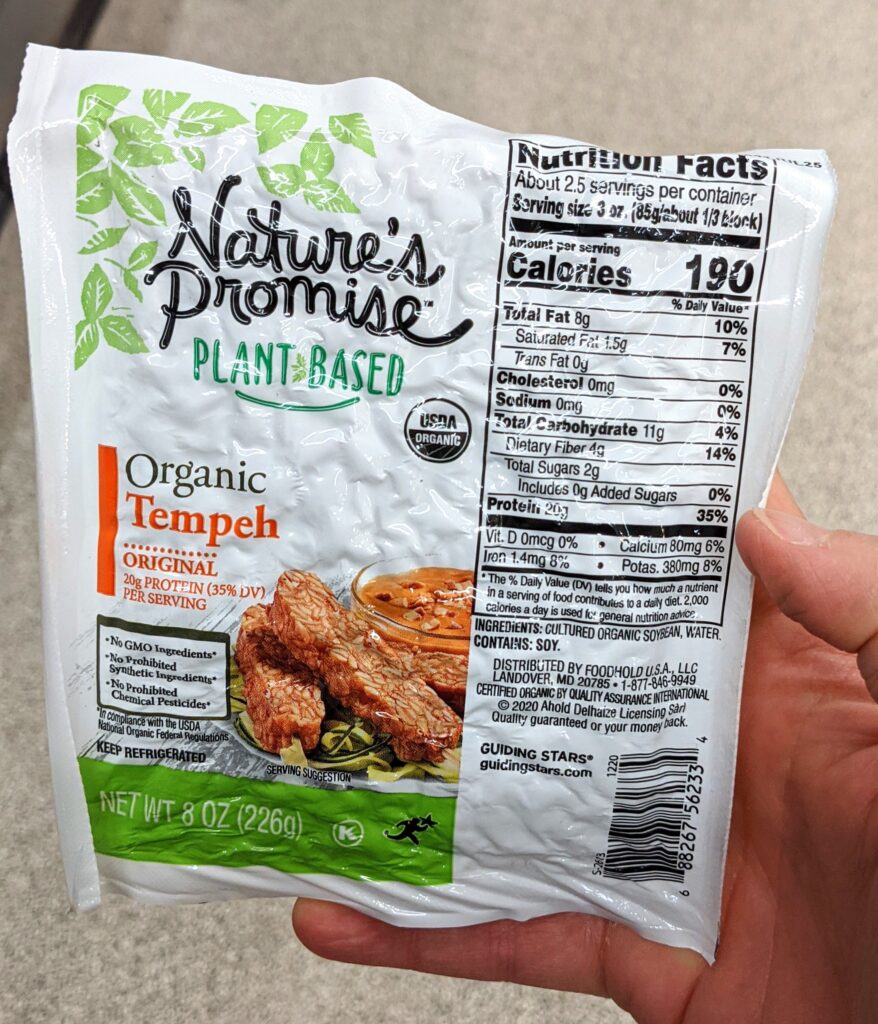
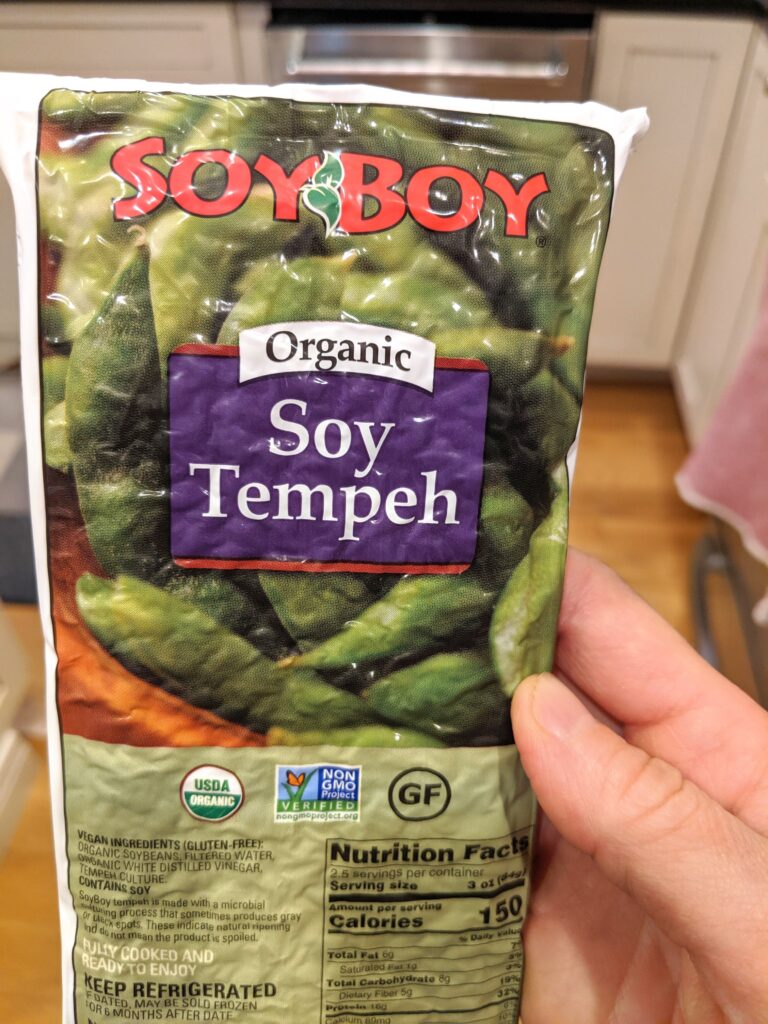
Tempeh is essetially cooked and slighlty fermented soybeans which have been pressed into a cake-like block form. You can often find this high-protein plant food in many supermarkets, typically stocked near the produce, alongside tofu.

If you are new to adding plant-proteins to your weekly menu, tempeh is a great place to start. It’s easy to prepare, and its almost firm, meat-like chew will satisfy even the most hesitant of meat eaters.

Got chronic inflammation? Tempeh can help!

A 2021 clinical study has demonstrated that diets rich in fermented foods like tempeh increase the diversity of your gut microbes (yay for gut health!) and also decrease signs of molecular inflammation. In this “stunning finding”:

. . . four types of immune cells showed less activation in the fermented-food group. The levels of 19 inflammatory proteins measured in blood samples also decreased. One of these proteins, interleukin 6, has been linked to conditions such as rheumatoid arthritis, Type 2 diabetes and chronic stress.

STUDY SUMMARY: Stanford researchers discover that a 10-week diet high in fermented foods boosts microbiome diversity and improves immune responses.

prep tip

The first step in preparing the tempeh is a brief simmer (as described in recipe instructions below). Do not skip this step, as it helps remove any potential bitter taste, and it also helps the tempeh take on the flavors of your addtional ingredients more easily.

Here are just a few ideas for adding tempeh to your meals:

  • Tucked into a burrito or breakfast burrito
  • Added to a salad (for a heartier, more filling and protein-rich salad)
  • In a bowl meal with roasted veggies and a starch (like potato, sweet potato, quinoa, rice, etc.)
  • in a skillet breakfast-hash-inspired meal (with sauteed diced sweet potato, greens, red onion, and top with with a fried egg)
  • Over shredded veggies and noodles, drizzled with peanut sauce
  • In a stir fry
  • In chili
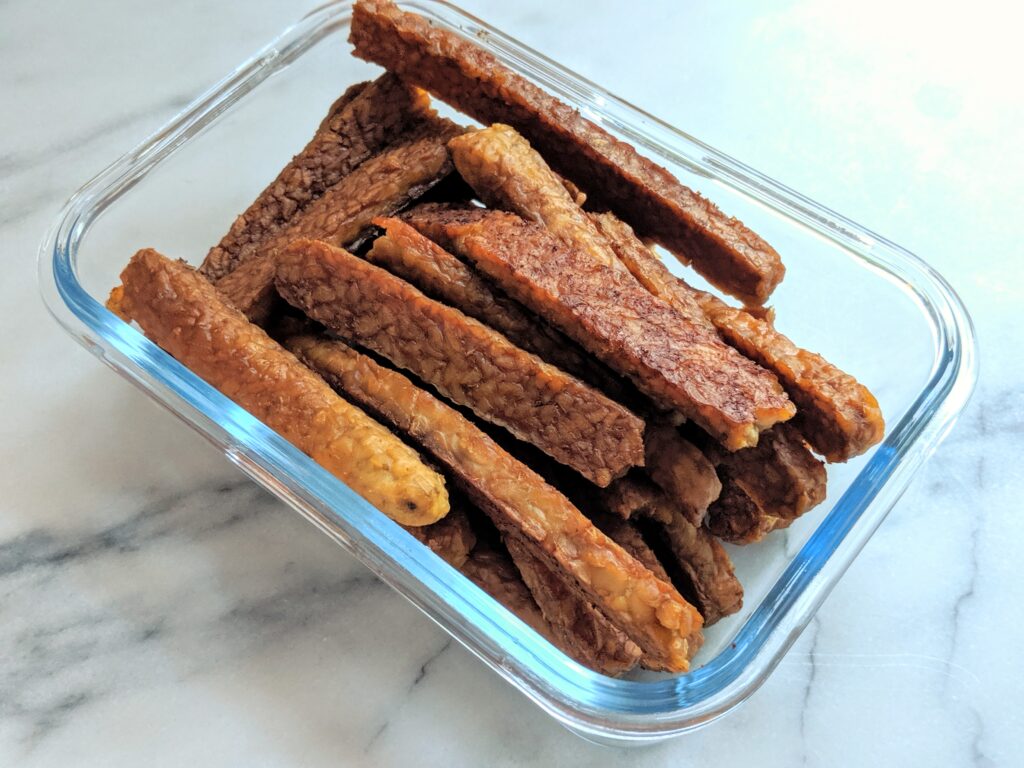
Use whatever shape you prefer – cubes, crumbles, etc.

Print Recipe
Vegan Tempeh Crumbles or Cubes
Course Main Dishes
Servings
servings
Ingredients
  • 1 8-ounce block of tempeh, cut into 4 large, equal pieces (FYI, soybean-based tempeh is typically higher in protein than purely grain-based ones)
  • 2 teaspoons avocado oil or extra virgin olive oil
  • 1 teaspoon dried thyme
  • 1/2 teaspoon dried sage
  • 1/2 teaspoon dried oregano
  • 1/4 teaspoon smoked paprika
  • 1/4 teaspoon paprika
  • 1/4 teaspoon freshly ground black pepper
  • 1/4 cup plus 1 teaspoon soy sauce or tamari
  • 2 cloves garlic gently pressed
Instructions
  1. Combine the spice ingredients (thyme, sage, oregano, smoked paprika, paprika, freshly ground black pepper) and set aside.
  2. Add water to a medium pot to about ⅓ full, and add ¼ cup of soy sauce and the pressed garlic. Bring to a simmer.
  3. Add the tempeh chunks. Simmer for 20 minutes.
  4. Drain the tempeh, and discard the garlic cloves (or save to use in something else if you’d like!). Gently pat tempeh dry.
  5. After tempeh has cooled, cut into smaller, bite-sized chunks OR crumble into smaller pieces. Toss with spice mixture.
  6. In a large skillet (I like to use nonstick for this recipe), heat the oil over medium heat. Add the seasoned tempeh, and cook for about 7-8 minutes, stirring often until it’s lightly browned. Add extra oil as needed.
  7. Add the teaspoon of soy sauce, stir gently, and remove skillet from heat.
Filed Under: Recipes Tagged With: batch cooking, meal prep, plant-based, protein, vegan, vegetarian

Easy, Pantry-friendly Bean Salad

By Jen

I have always been a cheerleader for a “recipe-ish” approach to cooking, because I discovered that it makes all things meal planning and meal prep so much easier. Sure, recipes have their place, and are so helpful when you want to try a new dish, a new ingredient, or a new technique. Recipes are wonderful training wheels that help you gain momentum with your cooking skills. But when it comes to your day-to-day, in the trenches, get-it-done cooking, a recipe-ish approach is a LOT more sustainable.

Instead of strict steps to follow, recipe-ish is about letting a template guide you. It’s easier and quicker than fussing with a recipe, and also gives you the flexibility to work with what you’ve got. Doesn’t that sound like just what you need right now?

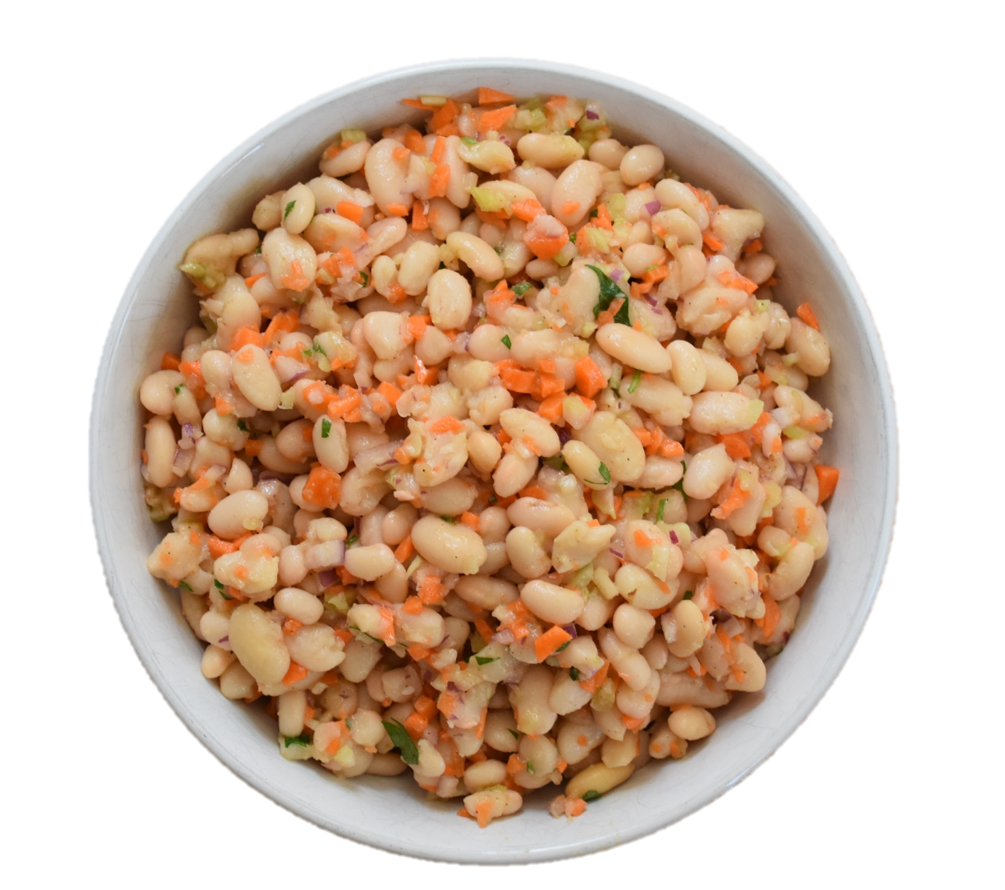
bean salad made with Great Northern beans, EVOO, red wine vinegar, parsley, cumin, and mirepoix (celery, carrot, and onion)

Here is my basic recipe-ish approach to a simple pantry-friendly bean salad. It’s so easy to make, and keeps for DAYS in the fridge. It’s a wonderful side dish, is delicious added to a big salad, and also can be gently heated in the skillet and served with a fried egg on top. You could even repurpose it into a soup by reheating with some broth and additional veggies and/ or starch.

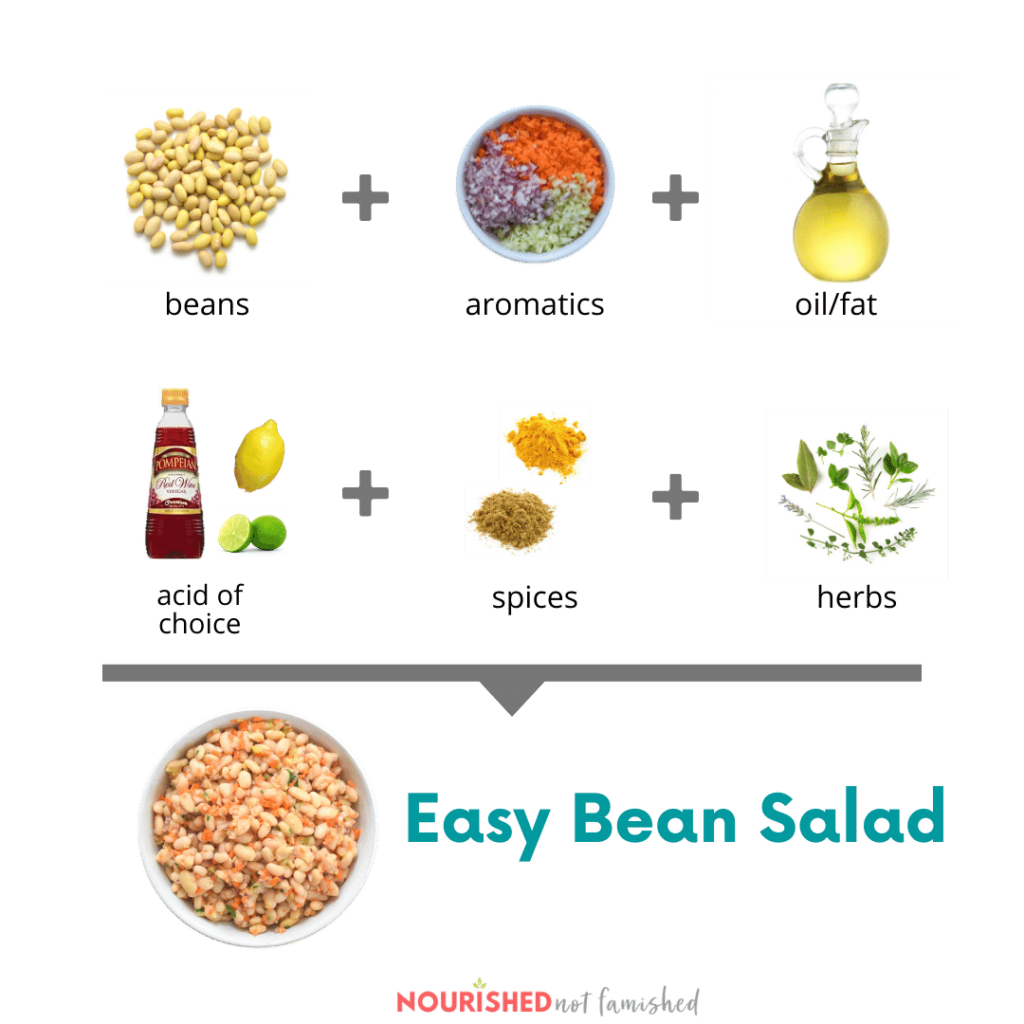
This template allows you to work with whatever you’ve got on hand (or not!):

BEANS – Canned is fine, or cook up your own dried beans. (Here are my super-easy instructions for cooking dried beans in your Instant Pot.)

+

AROMATICS – Aromatics are those humble beginnings that elevate all of the other flavors in a dish. Here I’ve used celery, carrot, and onion. Feel free to add other veggies like diced red pepper, garlic, or substitute with some scallions, red onion, leeks, chives, ginger, etc. There are endless combinations to try, and each with a different regional influence. And technically, “aromatics” often refers to the foundational spices and herbs that might also be included . . .

+

HERBS – Use what you’ve got, fresh or dried.

+

SPICES – Dig out those jars. There you’ll find the perfect addition to bring something interesting to your dish.

+

ACID – Vinegar or citrus are great options. There is a whole wide world of vinegars out there – red wine, balsamic, white balsamic, champagne, sherry, rice vinegar, and tons more. Experiment to discover your favorites!

+


FAT – Here I’ve used extra virgin olive oil. Work with what you’ve got, and if you can, try to stay away from highly refined oils.

Combine all ingredients, and season to taste with salt and pepper. Enjoy immediately, and store leftovers in the fridge for repeat joyful eating. And no blah leftovers here – I’ve noticed that a good bean salad tastes even better the next day or two!

What do you have on hand that you think you could toss together to make your own bean salad?

Print Recipe
Easy, Pantry-friendly Bean Salad
Course Salads & Side Dishes
Servings
Course Salads & Side Dishes
Servings

Filed Under: Recipes Tagged With: beans, healthy, nonperishables, pantry cooking, quick and easy, vegan, vegetarian

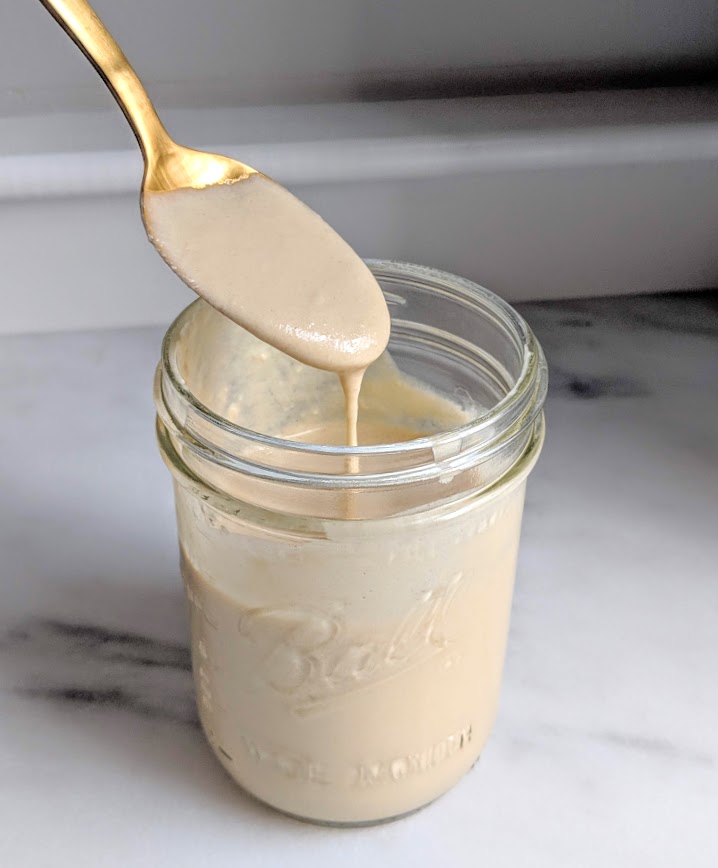
Maple Tahini Dressing

By Jen

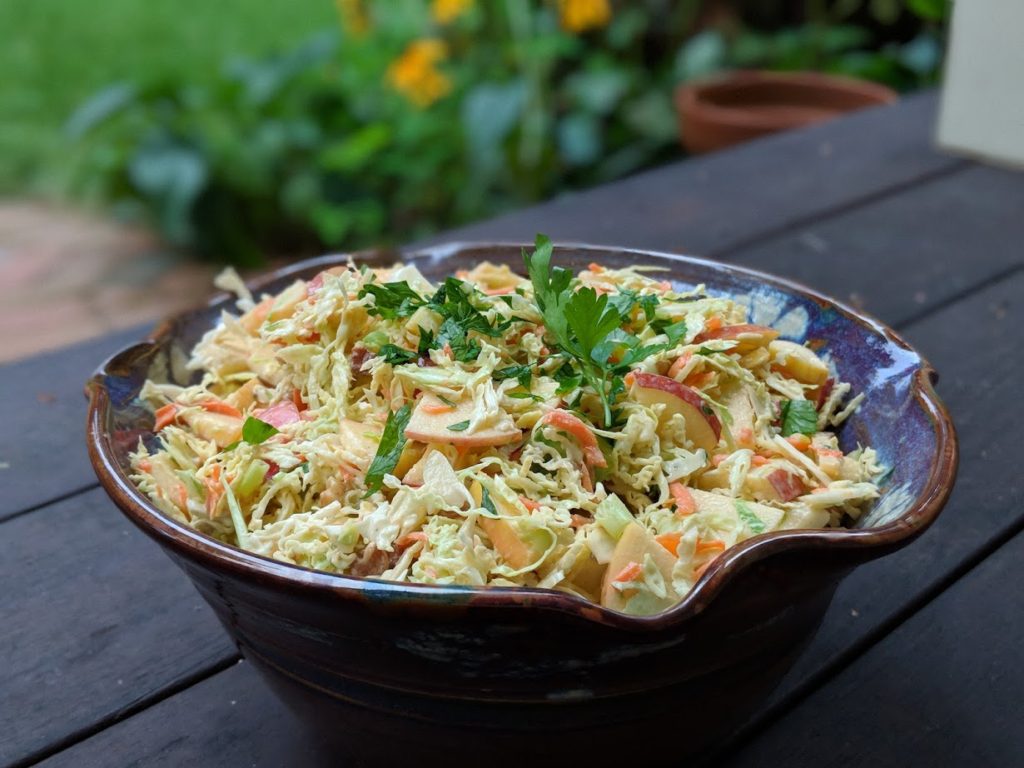
Tangy, creamy, and a hint of sweetness – this simple, easy dressing hits all the right notes. It’s just rich enough to pair well with the spartan crunch of cabbage and crisp apples (like in this Apple & Cabbage Slaw). It’s delicious over roasted chicken or roasted squash, as a salad dressing, or even as a dip for veggies. Honestly, I keep inventing ways to use this dressing over and over again, as it is definitely one of my favorites. Please leave me a comment and let me know all of the ways you’re enjoying this dressing!

The prep for this sauce is so simple that I encourage you to outsource the task to anyone who might be able to help you in the kitchen – your kids? spouse? significant other? roommate? Let your assistants lighten your load in the kitchen whenever possible!

Apple & Cabbage Slaw with Maple Tahini Dressing

Print Recipe
Maple Tahini Dressing
Course Sauce/Dressing/Spices
Servings
cups
Ingredients
  • 1 tablespoon apple cider vinegar
  • juice of a half lemon
  • 2 tablespoons maple syrup
  • 1 tablespoon soy sauce or tamari
  • 1/2 cup tahini
  • 2-3 tablespoons water (thin to desired consistency)
Course Sauce/Dressing/Spices
Servings
cups
Ingredients
  • 1 tablespoon apple cider vinegar
  • juice of a half lemon
  • 2 tablespoons maple syrup
  • 1 tablespoon soy sauce or tamari
  • 1/2 cup tahini
  • 2-3 tablespoons water (thin to desired consistency)
Instructions
  1. Combine ingredients in a medium jar or bowl, and whisk to combine.

Filed Under: Recipes Tagged With: gluten-free, vegan

Apple & Cabbage Slaw with Maple Tahini Dressing

By Jen

In the depths of winter, I find it hard to warm up to tender, leafy, summery salads. In fall and winter, I find myself craving a heartier crisp and crunch to my salads, and more robust flavors. This classic combination of crispy apples, crunchy cabbage, and toasted walnuts satisfies completely every time.

I especially find myself reaching for this recipe after the holiday season of rich foods. The bright, tangy flavors reawaken my palate after a steady diet of Christmas cookies and egg nog! Also, apples, cabbage, and walnuts are foods that naturally support liver function, which means you can skip the shady detox teas and detox supplements and just eat this tasty salad instead. 

This salad typically tastes best the day you prepare it, but there are some ways you can jump start your prep ahead of time.

JUMP START:

  • toast the walnuts
  • make the Maple Tahini Dressing (Even better – offload this task to someone else if possible. Conscript your kids, your spouse or significant other, roomate, whatever.)

If you’re going to spend time making this recipe, you might as well leverage your efforts and make a little bit extra of some of the ingredients to repurpose in other meals during the week. I like to call these my “Now & Laters” – I’m prepping some for now, and some for later use in other meals, with hardly any extra effort.

NOW & LATER:

  • In addition to the chopped apples for this salad, slice up an extra apple or two, and store in the fridge for snacks during the week. A little squeeze of fresh lemon will keep them from browning.
  • Good news: the dressing recipe included below yields plenty extra, which means you can store it in the fridge and enjoy it all week long. It’s delicious over roasted chicken or roasted squash, as a salad dressing, or even as a dip for veggies. 
  • Toast extra walnuts, and store in the fridge for adding a little sprinkle of tasty, crunchy healthy fats to your plate now and then. They’re great on your morning oats or Greek yogurt, or sprinkled on a salad or a bowl meal.
  • Slice/shred the remaining half head of cabbage, and repurpose it into a stir fry or a classic slaw the next day or two.
Maple Tahini Dressing

Print Recipe
Apple & Cabbage Slaw with Maple Tahini Dressing
Course Salads & Side Dishes
Servings
as a side
Ingredients
Slaw:
  • 1 large or 2 medium crisp apple, chopped
  • 1/2 medium - large head green cabbage, shredded or thinly sliced
  • 2 tablespoons toasted chopped walnuts
  • 4-6 small scallions, chopped
  • 2 or so tablespoons fresh parsley, chopped
Dressing:
  • 1 tablespoon apple cider vinegar
  • juice of half lemon
  • 2-3 tablespoons water (thin to your preference)
  • 2 tablespoons maple syrup
  • 1/2 cup tahini
  • 1 tablespoon soy sauce or tamari
Instructions
  1. Combine slaw ingredients in a large bowl.
  2. Combine dressing ingredients in a medium jar or bowl, and whisk to combine.
  3. Add Maple Tahini Dressing to the salad, and toss gently to combine. (I used about half of the dressing amount on the salad.)

Filed Under: Recipes Tagged With: gluten-free, vegan

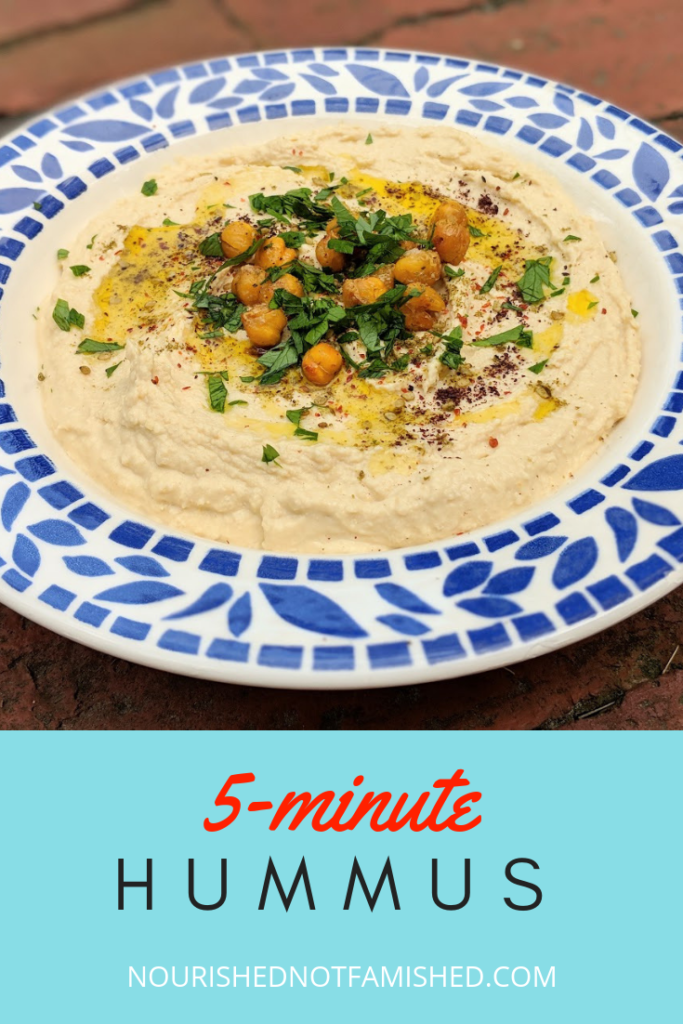
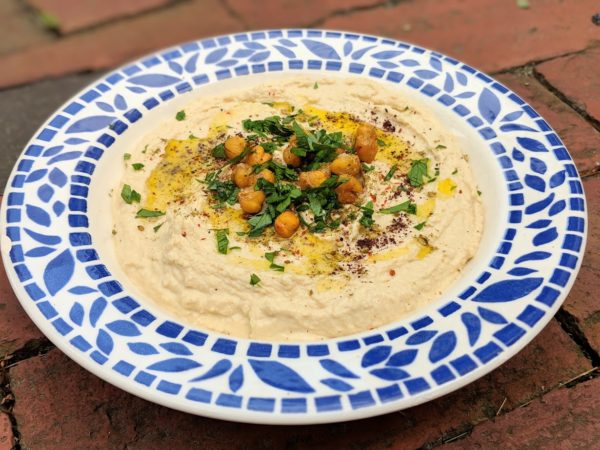
5-minute Hummus

By Jen

If someone had told me a few years ago that someday I’d routinely be making my own hummus, I would have laughed at the absurdity. Well, never say never. These days, I make it on a regular basis – maybe once every two or three weeks as part of meal prep.

I used to believe that making hummus would be difficult and time consuming, and I didn’t see any need to make my own when I could simply buy it at the store.  I was motivated to finally try making my own when I got tired of paying SO much for those tiny little tubs of hummus at the supermarket (have you seen the price lately??). Also, as I began to read nutrition labels a bit more closely, I realized that many hummus brands contain poor quality, inflammatory, highly refined oils.

When I make my own hummus, I’m not only saving a bit of money, I’m also able ensure that it doesn’t contain those icky inflammatory oils. And the best part? I was pleasantly surprised to learn that making hummus is ridiculously easy! Seriously, if you know how to turn on your food processor, you can make hummus.

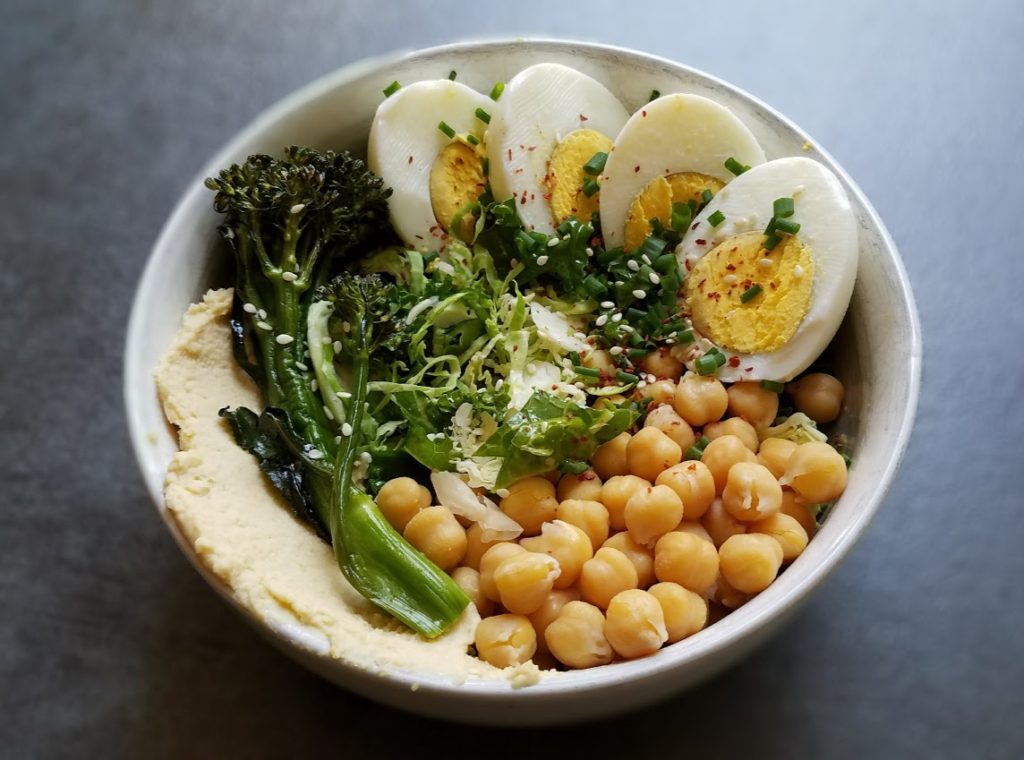
Hummus is a great addition to a bowl meal.

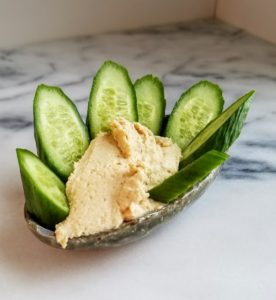
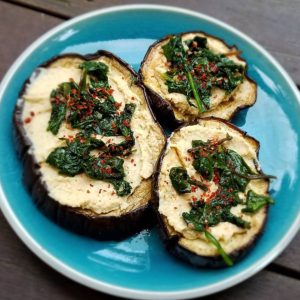
Hummus is super versatile, which is a nice bonus when you’ve actually taken the time to make it yourself. We enjoy it as a dip with veggies for a snack, in a mediterranean bowl meal, added to a salad or wrap, or even thinned with red wine vinegar to make a creamy dressing. It’s also delicious spread it on roasted eggplant slices, for a hearty snack or a side to round out your meal. It’s a meal prep staple in our house.

Give it a try in your meal prep this week! I swear it will make your life easier as you pack lunches and throw together meals.?

An easy, well-rounded snack: hummus and veggies.

Great as a spread on roasted eggplant slices with greens.


Print Recipe


5-minute Hummus

Course Appetizers, Snacks
Cuisine Mediterranean

Servings


Ingredients
  • 2 14-15oz. cans chickpeas, drained and rinsed (or, if cooking your own chickpeas, 3 1/2 cups cooked chickpeas)
  • 2 cloves garlic
  • 2/3 cup tahini
  • juice of two lemons
  • 2 ounces water (Add more if hummus is too thick for your liking. Different batches of chickpeas have varying water content, which can slightly affect how much water you'll need.)
  • 1 tablespoon extra virgin olive oil
  • 1 teaspoon salt
  • dash of cumin


Instructions
  1. Add all ingredients except water to a food processor, and blend until almost completely smooth.

  2. Add water as processor is running, and blend until completely smooth.

Filed Under: Uncategorized Tagged With: easy, quick, vegan, vegetarian

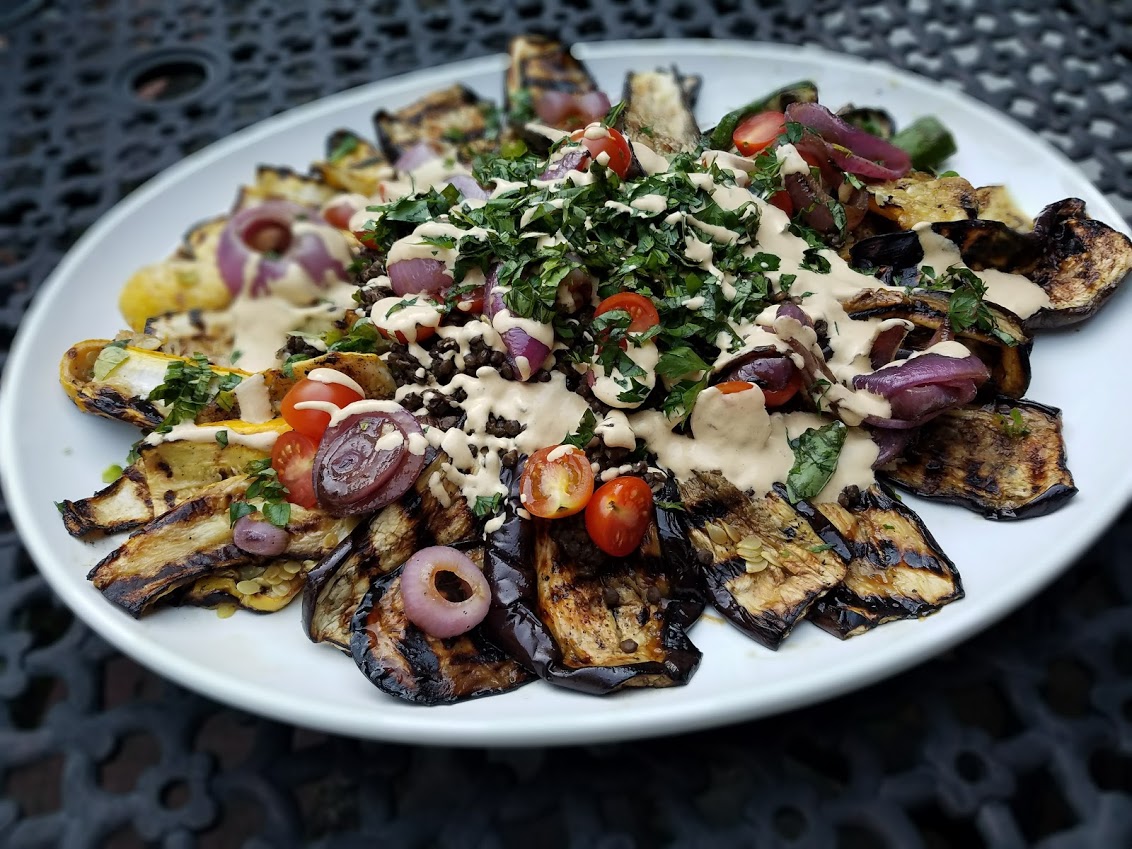
Grilled Veggie Party Platter

By Jen

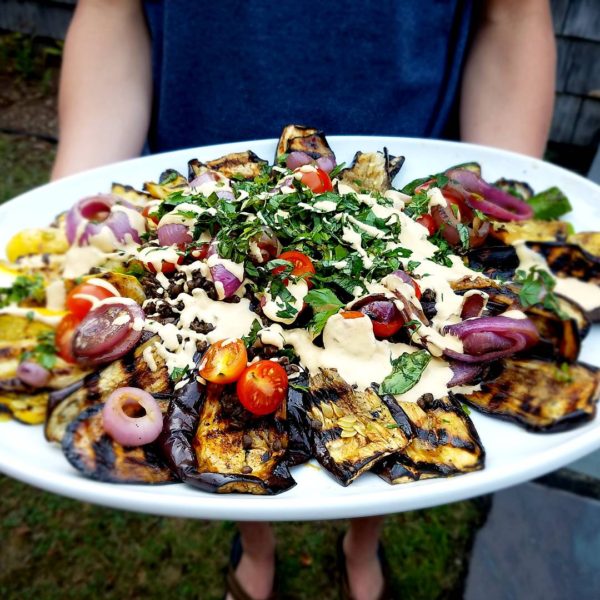
Headed to a party or barbeque this week? Or maybe you just want to stock your fridge with ready-to-eat veggies to help yourself hit your veggie goals? Stack the deck in your favor by making this fun platter, loaded with veggies, good fats, and legumes (optional addition, I used lentils here, but any kind of white bean would work well in this, too).
Weekends in particular are a vulnerable time for getting off track, so boost your odds for success by piling your plate with real food. This will help crowd out the junk, and also will nip cravings in the bud.

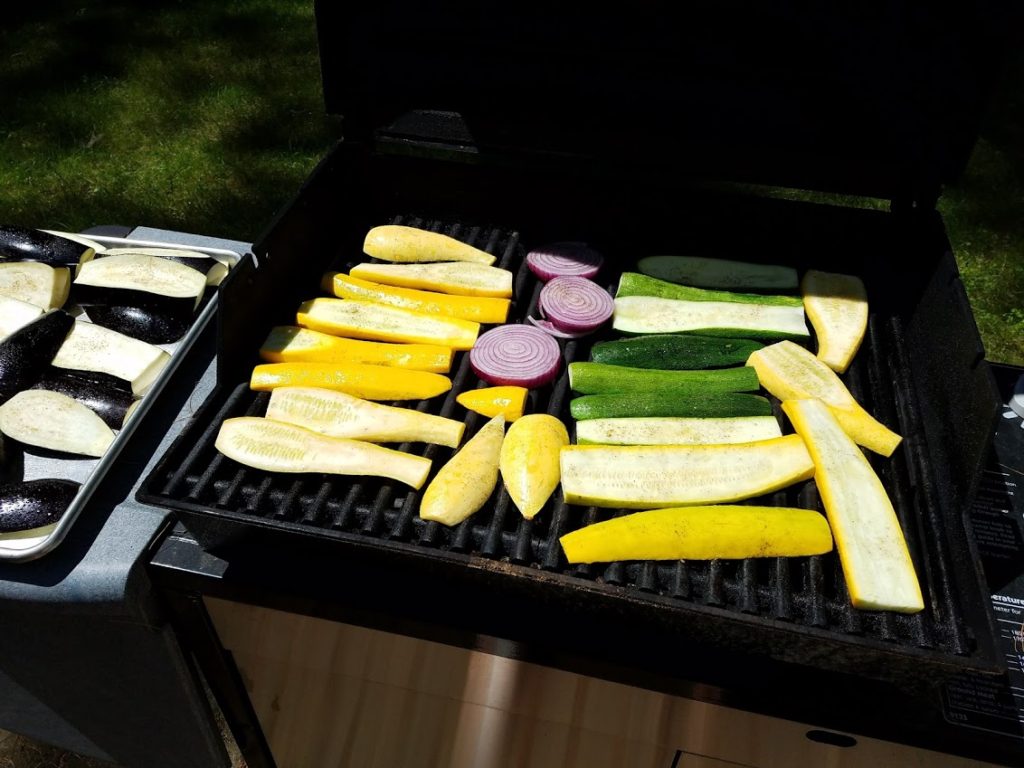
This summer party platter is pretty straightforward to make. I grilled a veggie combination of zucchini, summer squash, and eggplant, then piled some cooked french lentils* on top of the veggies, and drizzled it all with a delicious sauce (see suggestions below).

Making a sauce is super easy – just dump all ingredients into blender and you’re good to go! (As an alternative, you could top with a different sauce of your choice.)

Sauce and toppings ideas

  • This tangy tahini sauce
  • Or this slightly sweeter maple tahini dressing
  • Perhaps Bitchin’ Sauce, recipe courtesy The Faux Martha
  • crumbled feta or goat cheese
  • fresh, chopped herbs (I used a combination of basil, parsley, oregano, and chives)

*I like French lentils versus regular brown lentils because I prefer their flavor and they are firmer than brown lentils. To make, combine 1 cup French lentils, 1 bay leaf, and 3 cups broth. Bring to a boil, then simmer, uncovered for approx. 20 minutes (check to avoid overcooking). Drain before serving.

To make the grilled veggies, I cut zucchini, summer squash, and eggplant into 1/2″ slices lengthwise, and red onion about 1″ thick. I sprayed both sides with avocado oil, and sprinkled with salt, pepper, and garlic powder. I grilled the veggies over medium heat, flipping halfway (maybe 5-8 minutes each side??).

So, if you’re headed to that party or barbecue, bring this crowd-pleasing veggie platter, enjoy that party, dig in, and stay on track.  Or, if you’re simply trying to set yourself up to enjoy delicious, nourishing, veggie loaded meals, this recipe will help you make that happen. You got this!

Print Recipe
Grilled Veggie Party Platter
Course Appetizers, Main Dishes, Salads & Side Dishes
Servings
varies
Ingredients
  • zucchini (cut into 1/2" slices lengthwise)
  • eggplant (cut into 1/2" slices lengthwise)
  • summer squash (cut into 1/2" slices lengthwise)
  • red onion (cut into 1" slices)
  • avocado oil or extra virgin olive oil (I like to use the kind that comes in the spray bottle for convenience.)
  • salt and pepper
  • garlic powder
Instructions
  1. Preheat grill to medium heat. Spray both sides of each veggie slice with avocado oil (or, instead, brush with oil), and sprinkle with salt, pepper, and garlic powder. Grill the veggies over medium heat, flipping halfway (cook approximately 5-8 minutes each side). 

Filed Under: Recipes Tagged With: beans, grilled, lentils, summer, vegan, vegetarian, veggies

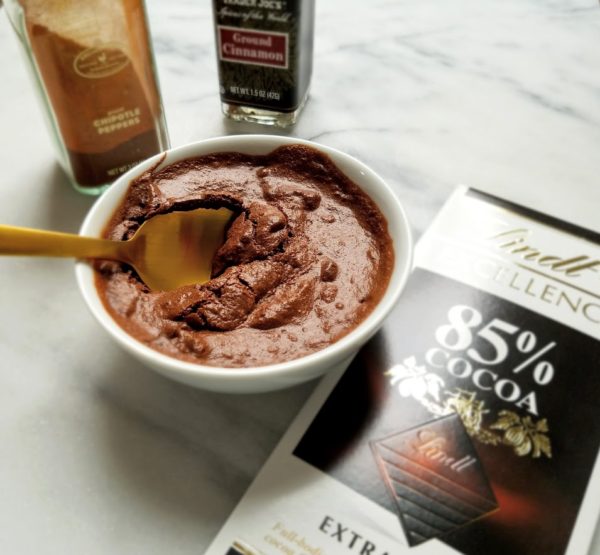
Vegan Chocolate Mousse

By Jen

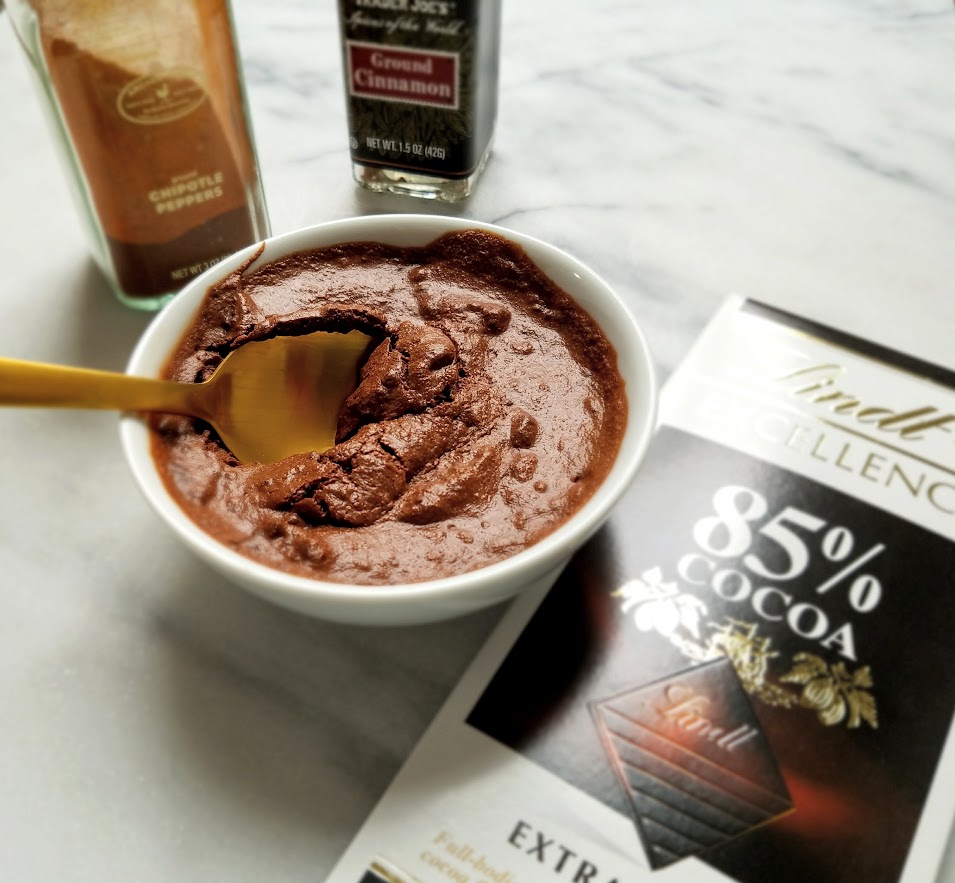
If the thought of a vegan dessert has you feeling skeptical (I get it), let this recipe completely change your mind! This decadent, fluffy dark chocolate mousse relies on aquafaba (a.k.a. whipped chickpea liquid) for its light, airy texture, yet retains every bit of richness of a mousse made with egg whites. I added a pinch of cinnamon and chipotle powder to give it some Cinco de Mayo kick, but you could leave that out if you’d like.

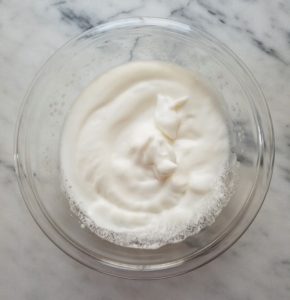
Aquafaba is the liquid from canned chickpeas, and when whipped, turns foamy and stiff, just like whipped egg whites (see video below). It’s perfect for folding into melted dark chocolate for chocolate mousse. It’s an easy and economical dairy-free alternative if that’s what you need. And as long as your dark chocolate is dairy free, too, this recipe is a great option for a vegan dessert!

http://nourishednotfamished.com/wp-content/uploads/2017/05/20170504_145951.mp4

If you’re feeling guilty about indulging in a little bit of dark chocolate, fughetaboutit. As a matter of fact, it would do you good to eat a little bit every day (and not just because it tastes so damn good). Dark chocolate is loaded with healthy fats and antioxidants, and as long as you are consuming at least 70% or higher, and in small amounts, it’s relatively low sugar. The higher the cocoa percentage, the greater the benefit. My personal threshold is currently at 90%, and I’m working my way up to the 95%. Time to set yourself some chocolate goals!

whipped aquafaba

There are many health benefits to consuming dark chocolate regularly: .
– may improve blood flow and lower blood pressure
– can drastically reduce your risk factor for heart disease
– may protect your skin against the sun
– increases insulin sensitivity
– may improve brain function

Want to know more? Check out 7 Proven Health Benefits of Dark Chocolate.


Print Recipe
Vegan Chocolate Mousse
Course Desserts
Cuisine Mexican
Servings
Ingredients
  • 3/4 cup liquid from 14-15oz can chickpeas (no salt added; also choose BPA-free can if possible)
  • 180 grams high-quality dark chocolate I like to use 85% dark chocolate
  • 1/4 teaspoon fine sea salt
  • 1/4 teaspoon cream of tartar or 1/2lemon juice (optional but does help the aquafaba whip into peaks more easily)
Instructions
  1. Pour the aquafaba in a mixing bowl, or the bowl of a stand mixer.
  2. Place the chocolate in a double boiler and heat until just melted (or, melt in the microwave in short increments, being careful not to overdo it).
  3. Pour into another mixing bowl and allow to cool for a few minutes.
  4. Whisk the the aquafaba, salt, and cream of tartar to the point that it forms soft peaks (approximately 2-3 minutes)
  5. With a spatula, gently stir a third of the whipped aquafaba into the melted chocolate, until fully incorporated.
  6. Fold in the remaining aquafaba in two additions, using a spatula and folding in gently until fully incorporated.
  7. Pour into 6 individual cups, and place in the fridge to set for at least two hours.

Filed Under: Recipes Tagged With: aquafaba, chocolate, dairy-free, vegan

Primary Sidebar

About Me:

Hi, I’m Jen, and welcome to Nourished Not Famished. Here you’ll find recipes, meal ideas, and wellness tips to thrive without deprivation or restriction. I like to keep healthy changes simple, and grounded in a real-life approach (the secret to making it stick!).  Find out about more about me here, and how you can work with me!

Get updates via email

* indicates required
Website sign up

Searching for something in particular?


Instagram

🍋 Greek-inspired Shrimp Bowls! Ready for someth 🍋 Greek-inspired Shrimp Bowls! Ready for something fresh, citrus-y, crisp, and cool? 🌞 Lemon, feta, and dill bring a bright, herb-y tang to this nourishing and tasty lunch (or dinner). Hit save to make this one soon!

When life gets busy, it's easy to let meals go by the wayside. Keep your energy levels up and your mental focus dialed in by packing your plate with foods that *satisfy* and boost your energy: 
protein, healthy fats, veggies (and/or fruits) and slow-acting starchy carbs. 

Quick and easy gets the job done! This lunch (or dinner) is mostly a no-cook meal, except for the starchy side (which came from my meal prep - see deets below). .
#whatsonmyplate (each serving)
➡️ thawed pre-cooked shrimp
➡️ about a half cup chickpeas
➡️ cucumbers and cherry tomatoes
➡️ about 2 tbsps feta
➡️ 1 tbsp EVOO
➡️ about 2 tbsp chopped fresh dill
➡️ fresh lemon juice, salt & pepper, and a dash of za'atar spice
➡️ about a half cup (already cooked) quinoa (hiding underneath)
.
.
#fastfood #balancedplate #powerplate #poweryourplate #poweryourlife #simplenutrition #nourished #lunch #whatsfordinner #nourishednotfamished #ditchthediet #protein #fat #carbs #slowcarbs #recipe #mealprep #honoryourhunger #batchcooking 
.
.
.
.
.
So, you're feeling motivated to make some healthy So, you're feeling motivated to make some healthy changes. Yay, You! 🎉👏👏👏 The secret to making it all happen is . . . there is no secret. The unsexy truth is real change happens (and sticks!) through long-term consistency with the basics.

Nope, the Six-Week Shred plan isn't the magic bullet some huckster is trying to tell you it is. 

It's all about practicing the basics, with a focus on *making them happen in a way that works for you today, this week, this month*. 

And knowing that "what works right now" will change over time.

That's where the Practice Mindset helps! 👇
1️⃣ Practice a small change for a set period of time.
2️⃣ Next, pause and reflect: How did it go? What worked, what didn't, and why?
3️⃣ Proceed if it's working, or Pivot if needed (tweak the change to better fit your life).

Those unsexy basics to practice?
👉Eat more whole (or minimally refined) foods,.and less of the highly refined stuff. (Notice that I didn't say "none"?)
👉Balance your plate at meals with protein, healthy fats, and carbs. Keep it colorful, with plenty of plants in the mix.
👉 Sleep, rest, recover.
👉 Do what you can to manage stress.
👉 Move your body daily (walking is great!). Build your strength. #makesomemuscle
👉 Spend some time doing fun things that help you connect with yourself. #selfcare
👉 Get outdoors. Natural light, Vitamin D, fresh air, and nature are key. (You are a living thing, remember? 😉)
👉 Connect with people and experiences that nourish you.

Hit up my blog (link in bio @nourished.not.famished ) for ideas, tips, and resources to help you get cracking on practicing those unsexy basics. 😘

Which of these basics is your practice priority right now? How's it going?
.
.
#makeitstick #tinyhabits #healthyhabits #practicenotperfection #nourishednotfamished #skillpower NOT #willpower
#changeskills #eatingskills #kitchenskills #balancedplate #simplenutrition #movement #sleep #stressrelief #ditchthediet  #resistancetraining #strength #metabolichealth #fitover40 #fitover50
.
.
.
.
Reminder📣. . . these un-sexy, SIMPLE basics ge Reminder📣. . .  these un-sexy, SIMPLE basics get the job done! Not just during the holidays, but *all year long*. And simple is just what you need right now, isn't it?

Why do they work? 
👉 Because all of these habits focus on *giving yourself what you need to thrive*. 🌱 

I invite you to try this:
👉Spend a few months TRULY practicing these simple habits most of the time. Start with just one, or a few (✨Start small, and add as you feel ready.✨)
👉TIP: Sleep is a great one to start with, because it's the foundation that holds up everything else. 

As you practice these habits, pause and observe:
🤔How do I feel? 
🤔How am I performing, physically and mentally? 
🤔How is my energy?
🤔How do my clothes fit?
🤔How have my longer-term health indicators like blood pressure, cholesterol levels, and blood glucose levels changed?

If you truly desire healthy changes that
✔️feel sustainable
✔️ yield results
✔️ and STICK,
stop relying on willpower!

🌟Focus your efforts on *meeting your needs*, rather than restricting and depriving.🌟
.
Stay in a groove with these habits this month, and you might just discover come January 1st that you feel ready to tackle the new year, no over-the-top diet and intense workout plans necessary! 

👉By then, you'll have already established the habits you need that let your biology work for you for optimal wellness, instead of relying so heavily on willpower.👈

Who's with me?! Will you be KISS-ing your way through the holiday season?? 

#mistletoe #healthyhabits #nourishednotfamished #tinyhabits #atomichabits #wellness #healthy #balancedplate #sleep #stressrelief #circadianrhythm #movement #everythingisconnected #holidays #december #protein #veggies #christmas #nourished #honoryourhunger #ditchthediet #fitover40 #fitover50
The most delicious form of self care: meal prep. 💕 (See stories for deets on this Turmeric Pepper Chicken & Asparagus!) 

During this busy holiday season, your needs often end up on the back burner. 
Which can leave you feeling hangry, exhausted, and ravenous by the end of the day. 
(You know, that feeling when you walk in the door and dive head-first into the bag of chips? #beentheredonethat 🤷‍♀️)

Packing up a few nourishing lunches is a surefire way to boost your midday energy during the week, and leaves you feeling *satisfied* at lunchtime. 

👉 You don't have to make fancy, fussy recipes.
👉 Instead, keep it simple & balanced by packing a lunch container of some protein, fat, carbs, and veggies and/or fruit. Leftover dinner is a great shortcut! 
👉 If takeout is part of your lunch plan, be strategic about ordering meals that will actually nourish you (yup, that means protein, fat, carbs, and veggies and/or fruit).

Is lunch a pain point for you, too?

Would you love the convenience of having it all ready ahead of time?

✨For lunch ideas 
and my top picks for leakproof lunch containers, 
check out my website at link in my bio @nourished.not.famished ✨

Head to "My Favorite Things" section of my site for my top container picks! 

#lunch #whatsforlunch #realfoodfastfood #mealprep #balancedplate #simplenutrition #ditchthediet #tinyhabits
#healthyhabits #poweryourlife #eatingskills #kitchenskills #plantforward #omnivore #fitover40 #fitover50 
.
.
.
.

Copyright © 2023 · Nourished Not Famished